Create a question set
- Choose "Author" in the top menu.
- Choose "Question Sets" in the left-hand menu.
- Click "+ Create new question set".

Give the question set a name and create a new question
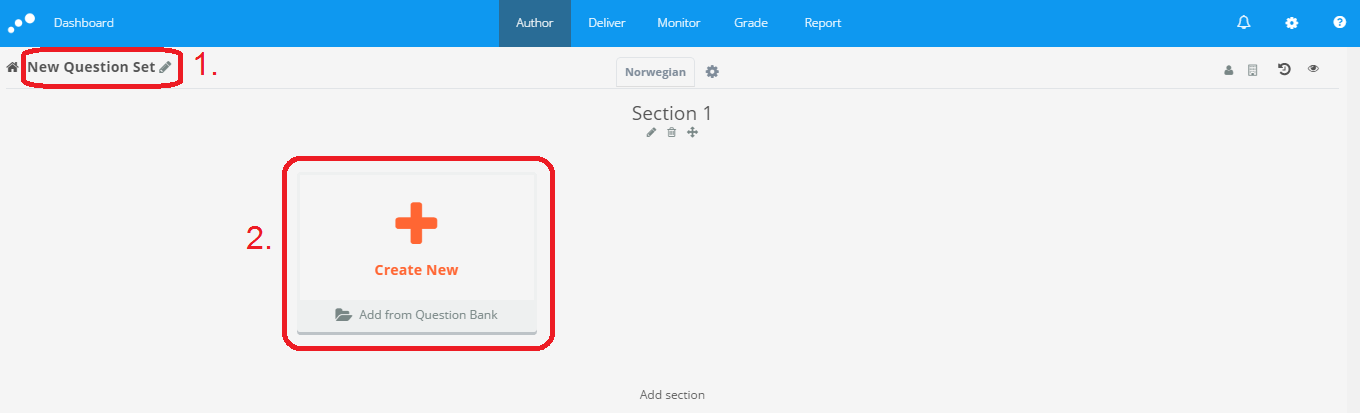
- Give the question set a name (for instance course code and semester) by clicking on "New Question Set" (or the pencil icon) in the top left of the screen.
- Choose "+ Create new" to create a new question.
Find the correct question type
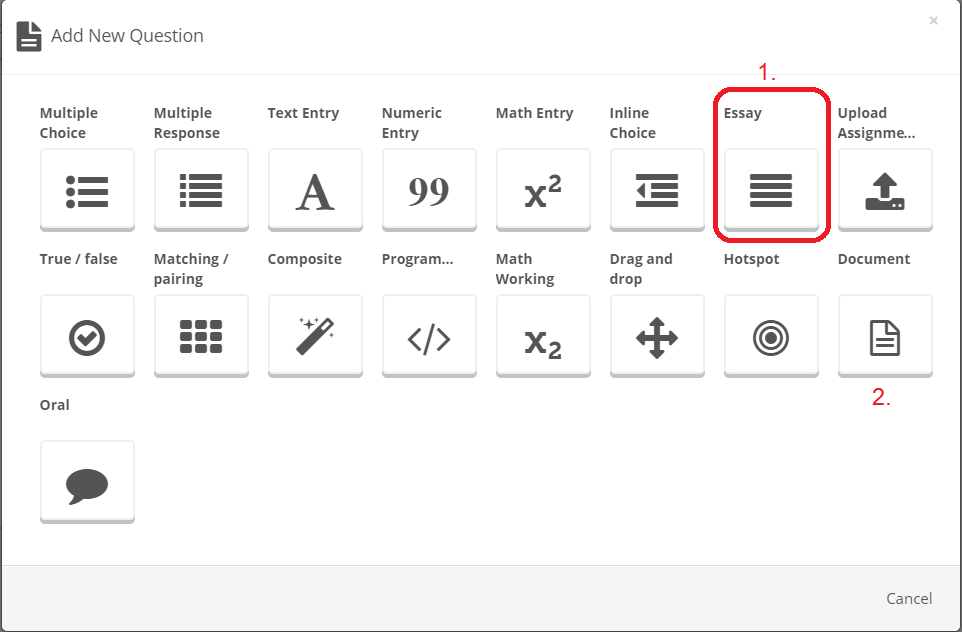
- Choose "Essay".
- You can also choose to add "Document" first to provide candidates with practical information. "Document" can for instance include information about recommended time used per question, examination support material, etc.
Edit the question
- Write the desired title for the question, by clicking on the question title (or the pencil icon) in the top left of the screen.
- Write the question text (or where the candidate may find this).
- In the right-hand menu, set maximum marks. If you're not using marks, set 0.
- Mark scheme (grading instructions): You can add a scheme for the graders to use in the grading prosess under "Mark scheme". See Inspera's guide
- Main illustration: You can choose to add an main picture/illustration to the question. The candidate will see the picture/illustration above the question text. See Inspera's how-to guide to inserting a main illustration
- PDF panel: You can add a PDF document to a question. Please remember that links included in the the PDF document are possible to open from Inspera, so make sure to remove all links before uploading the PDF document to Inspera. See Inspera's how-to guide to attaching a PDF
- You can also insert images so they appear with the question text.
- You can edit the settings for the text box by clicking on it.
- Edit the initial number of lines (the vertical length of the text box).
- If you enable "expand automatically", the text box will automatically expand as the candidate writes, beyond the initial number of text lines. One disadvantage with this setting is that the question text and main illustration/PDF panel will remain on top and eventually "disappear" as the text box expands. We therefore recommend not to enable this setting. When not enabled, each text box has a scroll function where the candidate can scroll inside the text box.


Create more questions
You may add more questions to your question set by choosing the plus symbol "+" at the bottom of the page. When "Add same type" is chosen, a question of the same question type will be created.

Section Layout
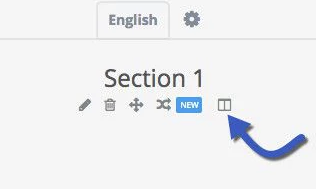
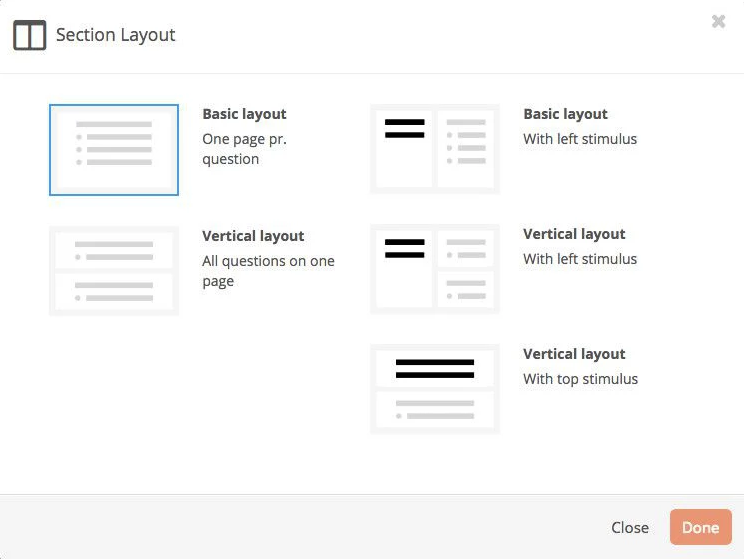
You can edit the layout by clicking the "Section Layout" icon. Each section in your question set can have different layout.
In the Section Layout menu, you can choose between five different layouts. See examples of the different layouts in Inspera's guide.
A section stimulus is a document that will appear to the left or in the top of each question in the section. You can choose between four different stimulus types:
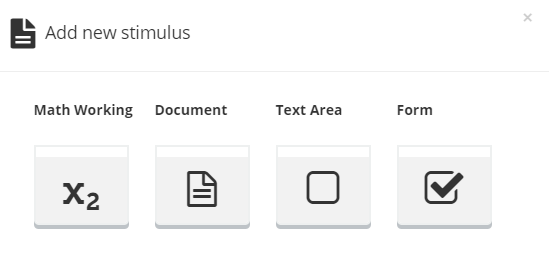
If you, for example, wish to have a common text or picture for all questions in a section, choose "Document". Then you can write/paste the text, or choose "Insert picture" in the text editor.
Translate the question set
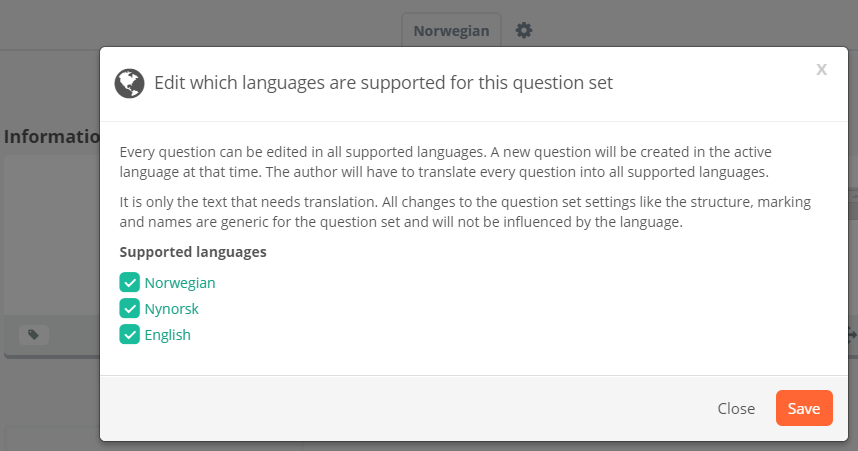
- When the original language version of the question set is finished, click on the settings icon (gear wheel) in the top center to edit the language settings. It is extremely important that all questions in the "original" language are 100% completed before the text is translated. It is not possible to add new interactions after the translation has been done.
- Select the form of Norwegian/language the question set should be available in.
When a new version is activated, a copy of the question in the original language/language form will be created and this must be translated.
If a question in a question set is not translated, it will be displayed as "Not translated".
NOTE: PDF panels will NOT be transeferred to other languages. They must be uploaded separately to each language.
Remember to proofread
It is not possible to change the question set in a test after the exam has begun, so it is important you proofread and test all questions in advance.
Preview
You can preview single questions or the entire question set to see how the candidates see and experience the question(s) during the test.
- Choose "Author" in the top menu.
- Choose "Question Sets"/"Questions" from the menu to the left under "Content types".
- Click on the play icon
 to preview the question/question set.
Alternatively: When you are in edit mode in a question set or in a question, you can preview the question/question set by clicking the eye icon in the top right of the screen:
![]()
Remember to proofread for all languages/language forms.
Design
This user guide explains the design options.
Share your question set with other users
In order for the examination administrator ("Planner" in Inspera) to get access to your question set and to create a test with it, you first need to share the question set with the examination administrator.
You can also share the question set with your co-authors.
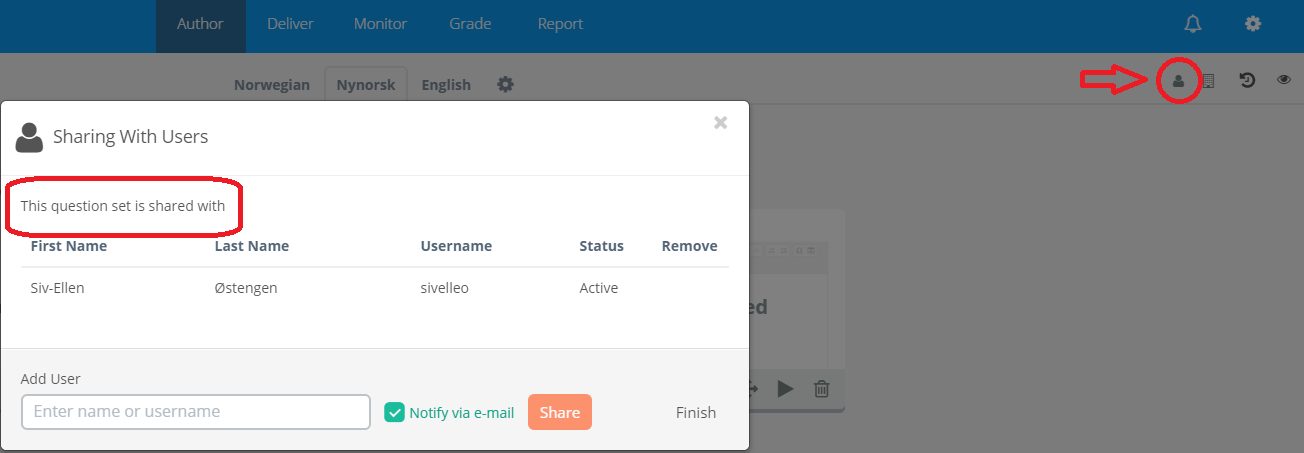
Make sure you share the entire question set and not only a single question. When you see the entire question set, click on the person icon in the top right of the screen. In the window that appears you will see "This question set is shared with" where you can see which users who have already been given access to the question set. If you share a single question, in the window it will say "This question is shared with".
If you make any changes in the question set after you have shared it with the examination administrator, notify this person about the change.