To create a new question "Create New":

Long answer questions
Essay
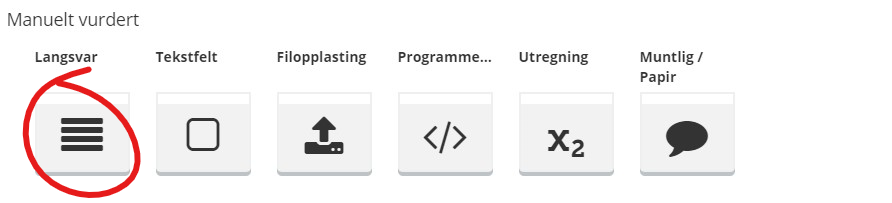
To create a essay-question, choose "Essay" in the question menu:
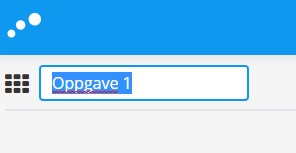
Give the question a name in the top left corner:
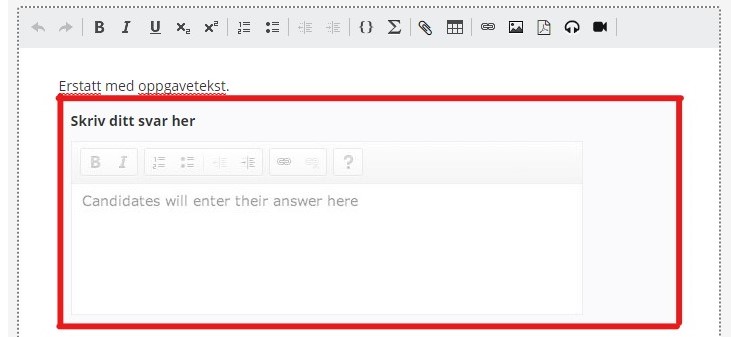
Enter the assignment text:
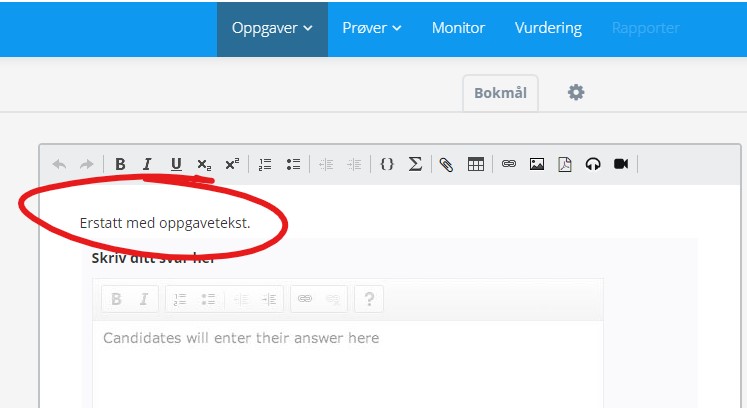
In the toolbar above the task text field, you also have the option to add images and tables.
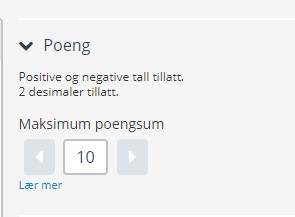
Click on "Marks" in the right menu to set the score for the task. If you are not going to use points, set the score to 0:
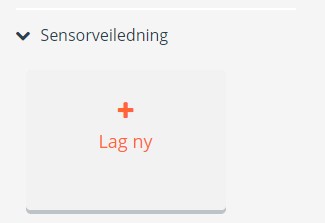
If you want to add a sensor guide, click on "Marks scheme" and "Create new":
You can change the settings for the text box by clicking on it:
You will now see that the menu on the right has changed:
Under "Prompt" you can change the instruction for the assignment (the field where it says "Write your answer here".
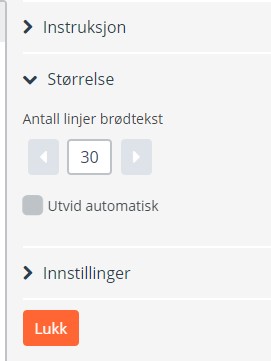
Under "Size" you can set the initial number of text lines.This is the number of lines the candidate can write before the text field expands or gets a "scroll wheel". It is recommended to set the number to 30.
If "Expand automatically" is checked, the text field will expand automatically without a "drop-down". If this is activated the task text and toolbar are not locked in place, but disappear from the image when you fill the text box. It is therefore not recommended to use "Expand automatically".
When the task is complete, click the orange "Save" button in the upper right corner:

Repeat the process if you want to create more tasks
Digital hand drawing
If the students are to submit digital hand drawings (formulas / calculations etc.) they have to take pictures of sheets of drawings and upload them as a picture file in Inspera. The students can also insert multiple pictures into a Word- document. The students can either use a tablet or phone to take a picture of the sheets.
In order for students to have a place to upload their digital hand drawing (s), you must create an "Upload assignment":
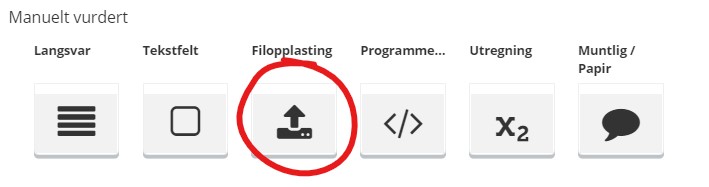
After selecting "Upload assignment" as the task type, start by naming the task (this field can be found in the upper left corner). For example "Question 3: Draw a N2O- molecule":

The next step is to enter the assignment text. Enter the assignment text in the field circled below. NB: After you have entered the assignment text, remember to specify the following: "In this assignment, you must submit hand drawings. See instructions on the front page of the question set".Then press the "Browse" button to select the type of file the candidates can submit:

The standard in Inspera for accepted file types is "All file types". MN recommends that the "File types" box remains checked. In this way, students can submit their hand drawings in any format they want:
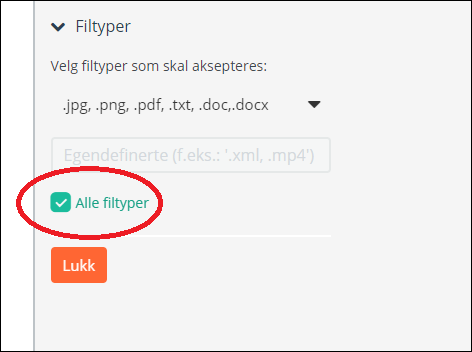
Maximum file size is 1 GB.
You as a course teacher choose whether you want several upload assignments in your question set, or just one.
Programming
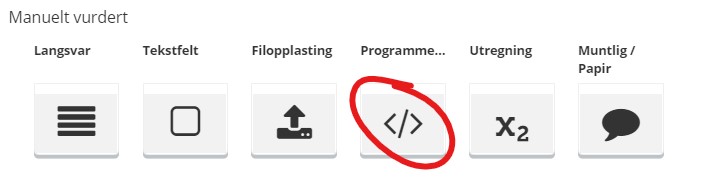
If you want to give candidates the opportunity to use an editing tool that is adapted to writing and viewing code, you can use "Programming":
Start by naming the task:
Enter the assignment text:

In the toolbar above the task text field, you also have the option to add images and tables.
Click on "Marks" in the right menu to set the score for the task. If you are not going to use marks, set the score to 0:
If you want to add a marks scheme, click "Mark scheme" and "Create New":
You can edit the settings for the text box by clicking inside it:

You will now see that the menu on the right side have changed:
Under "Prompt", you can change the instruction for the assignment (the field where it says "Write your answer here").
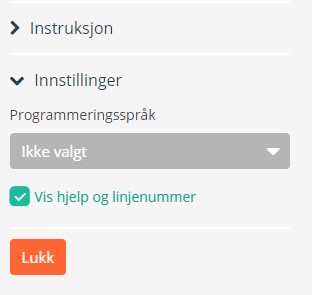
Click "Options" to select the programming language. Here you can also choose whether the candidates can use numbered lines.
When the task is complete, click the orange "Save" button in the upper right corner:
Repeat the process if you want to create more tasks, choose either the same type or a new one.
Multiple choice questions
Multiple choice
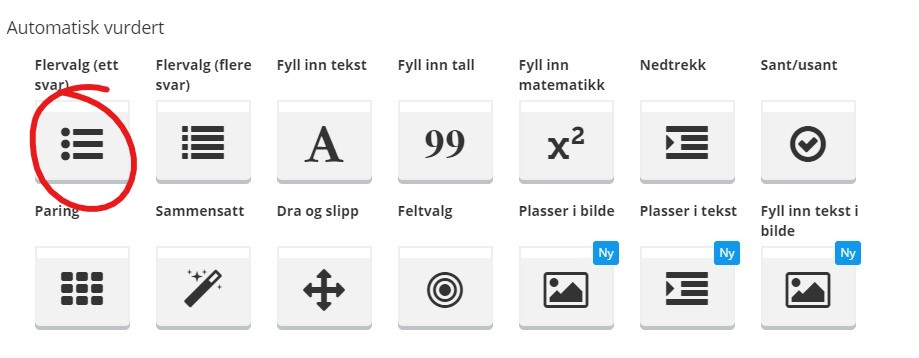
You can find multiple choice assignments below the "automatic marks" category. Here the author defines the correct answer, and sets points per correct and incorrect answer.
Get started by clicking "Multiple choice":
Name the task in the top left corner:
Enter the assignment text:
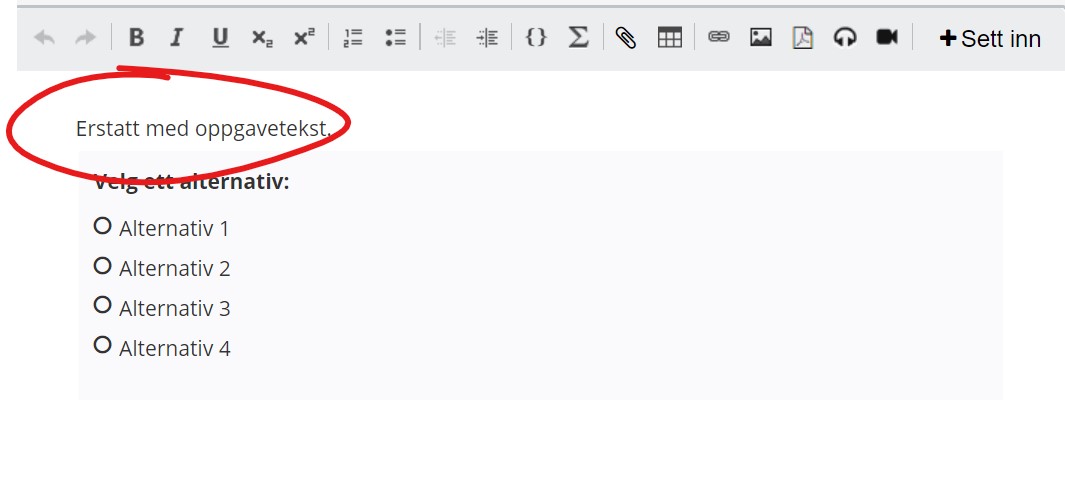
In the toolbar above the task text field, you also have the option to add images and tables.
Click "Insert" at the top right in the toolbar to insert multiple questions into the same task.
In the right side menu click "Marks" to set the score for the assignment:
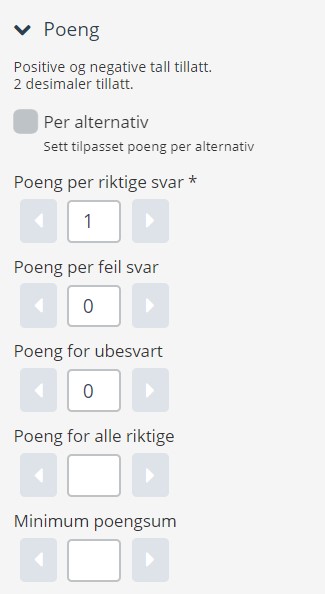
Here you can adjust the score to be given for this task, for example by giving minus points for incorrect answers.
If you want to add a sensor guide, click on "Marks scheme" and "Create new":
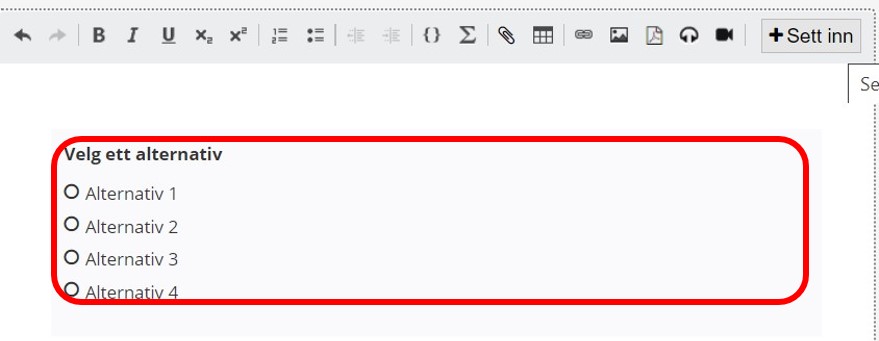
To edit the instruction and the alternatives, click inside the interaction field:
You will then see that the right side menu have changed:
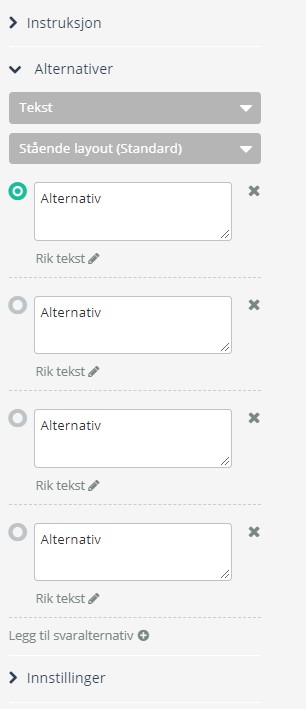
Click "Alternatives" to choose the correct/wrong answers. The alternative marked with a green circle is set as the correct answer. To select another alternative as the correct answer, click the gray circle to the left of the alternative. By clicking on the gray "Text" drop-down menu, you can change the format of the alternatives (for example LaTex or images).
Under "Prompt" you can change the instruction for the task (the field where it says: "Choose an alternative/Velg ett alternativ").
To select whether or not the alternatives appears in a random order, click on "Options" and then "Random order of alternatives" (this is on by default).
When the task is complete, click the orange "Save" button in the upper right corner:
Repeat the process if you want to create more tasks, choose either the same type or a new one.
Multiple response
You can find multiple response assignments below the "automatic marks" category. Here the author defines the correct answers, and sets points per correct and incorrect answer.
Get started by clicking the "Multiple response" alternative:

Name the task in the top left corner:
Enter the assignment text:
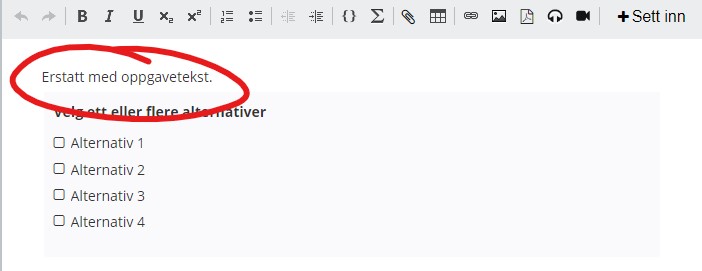
In the toolbar above the task text field, you also have the option to add images and tables.
Click "Insert" at the top right in the toolbar to insert multiple questions into the same task.
In the right side menu click "Marks" to set the score for the assignment:
Here you can adjust the score to be given for this task, for example by giving minus points for incorrect answers.
If you want to add a sensor guide, click on "Marks scheme" and "Create new":
To edit the instruction and the alternatives, click inside the interaction field:
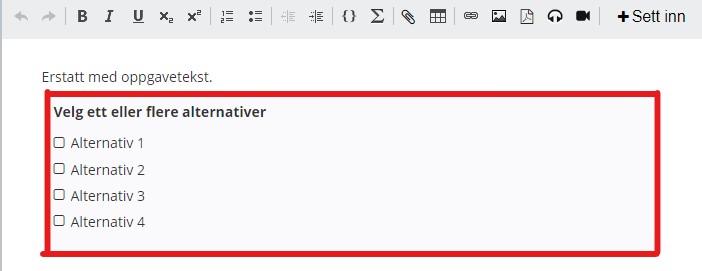
You will then see that the right side menu have changed:
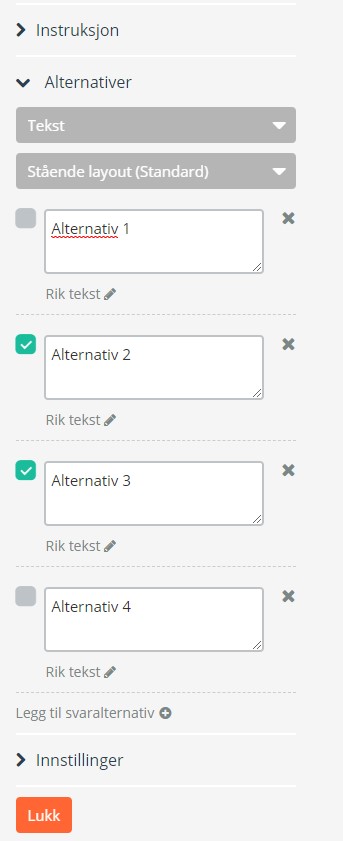
Click "Alternatives" to choose the correct/wrong answers. The alternatives marked with a green checkmark is set as the correct answer. To select another alternative as the correct answer, click the gray checkmark to the left of the alternative. By clicking on the gray "Text" drop-down menu, you can change the format of the alternatives (for example LaTex or images).
Under "Prompt" you can change the instruction for the task (the field where it says: "Choose one or more alternatives/Velg ett eller flere alternativer").
To select whether or not the alternatives appears in a random order, click on "Options" and then "Random order of alternatives" (this is on by default).
When the task is complete, click the orange "Save" button in the upper right corner:
Repeat the process if you want to create more tasks, choose either the same type or a new one.
Other task types in Inspera
If you want to use other types of tasks in Inspera, see UiO's own guidelines.