Getting started
When you initially access the system, you will be prompted to follow a step-by-step wizard that will assist you in configuring your settings. These configurations can be modified at any time in the future.
By clicking "Next," you will be guided through the Add-ons steps, where you will have the opportunity to explore and install the available add-ons for your account.
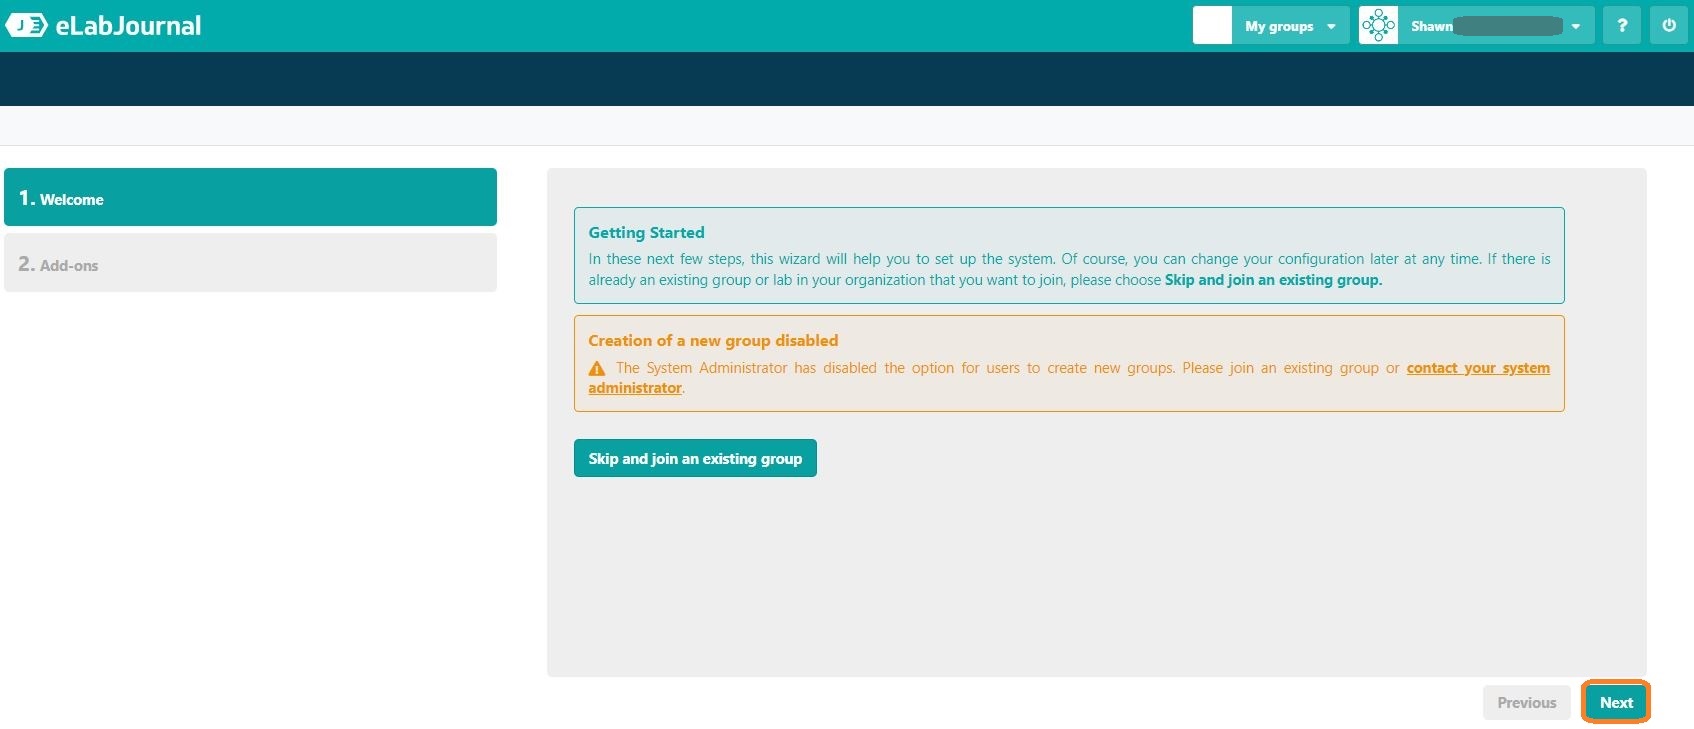
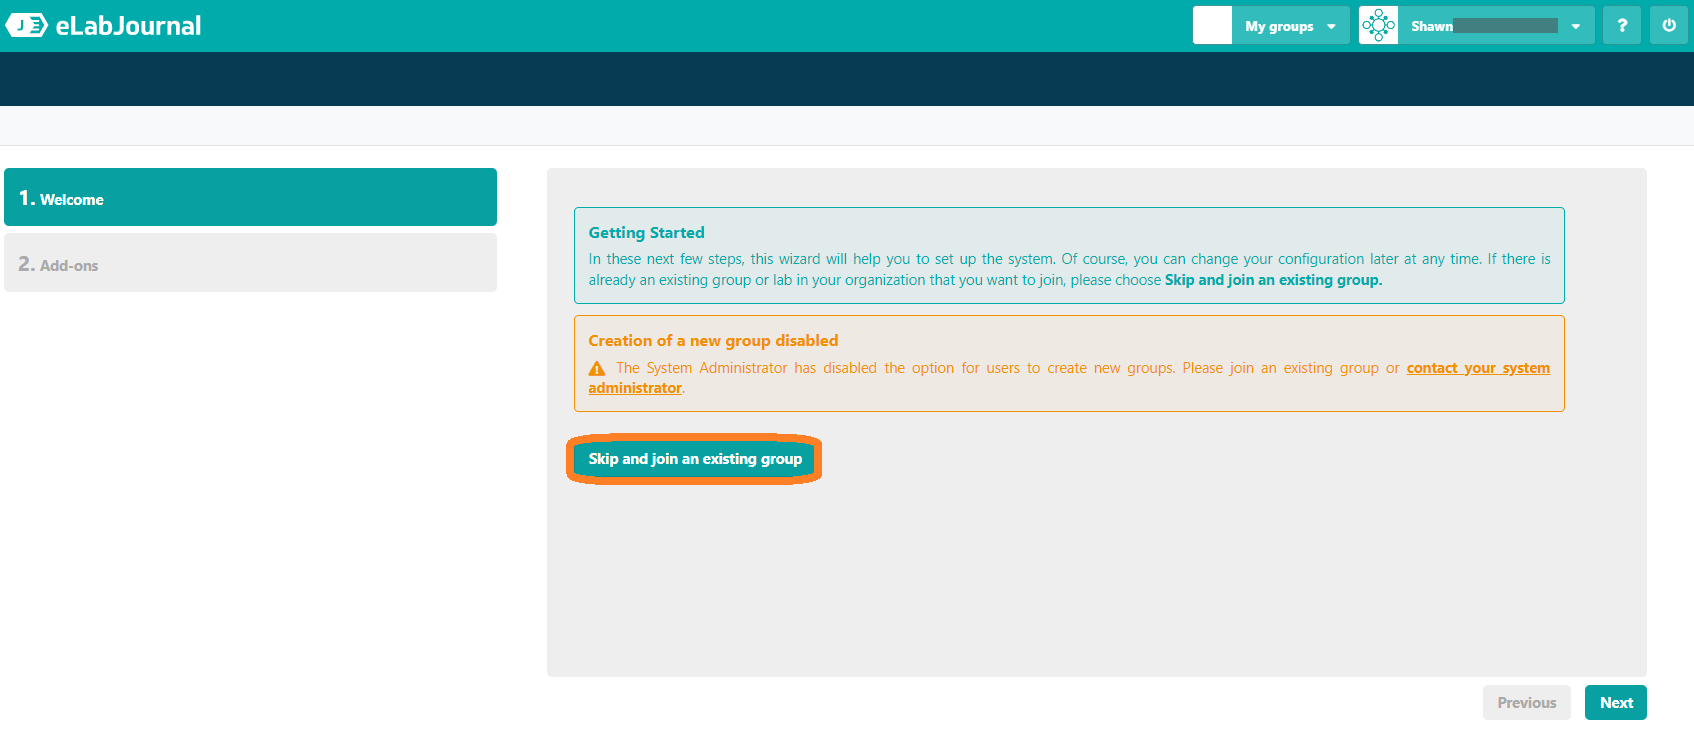
If there is already an established group or lab that you wish to become a part of, you can select the "Skip and join an existing group" option.
Joining a group
This step is crucial to facilitate effective collaboration with your colleagues and efficient data management within the system. In eLabJournal, a group serves as a secure and protected environment for sharing information among its members. There are two alternatives for joining a group:
Alternative 1 (Can be used by both UiO and Educloud users):
To join an existing group in eLabJournal, please follow these steps:
- Contact your group administrator and request an invitation to join the group.
- Once the group administrator adds you as a member to the group, you will receive a join request.
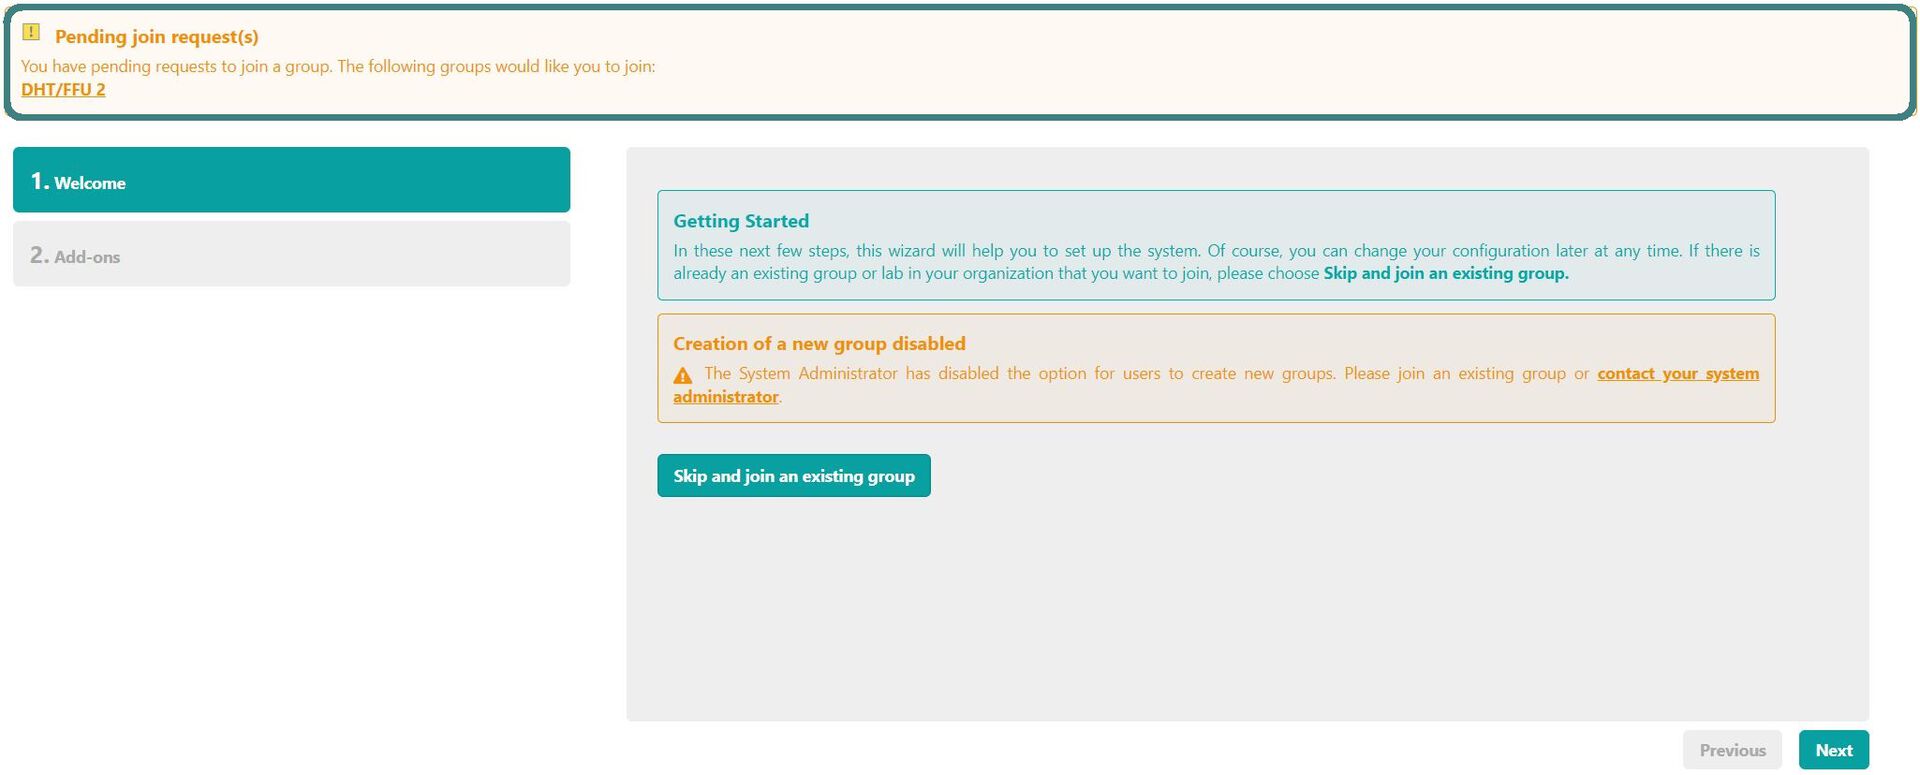
- Accept the join request to become a part of the group.

By joining the group, you will gain convenient access to shared data, protocols, and other resources within the eLabJournal system. This process ensures that you can efficiently collaborate with your colleagues and access the group's resources in eLabJournal.
Alternative 2 (For UiO users only):
Please note that this method is applicable only if you are signed in to eLabJournal using your UiO account.
To join an existing group in eLabJournal, follow these steps:
- Sign in to your eLabJournal account using your UiO credentials.
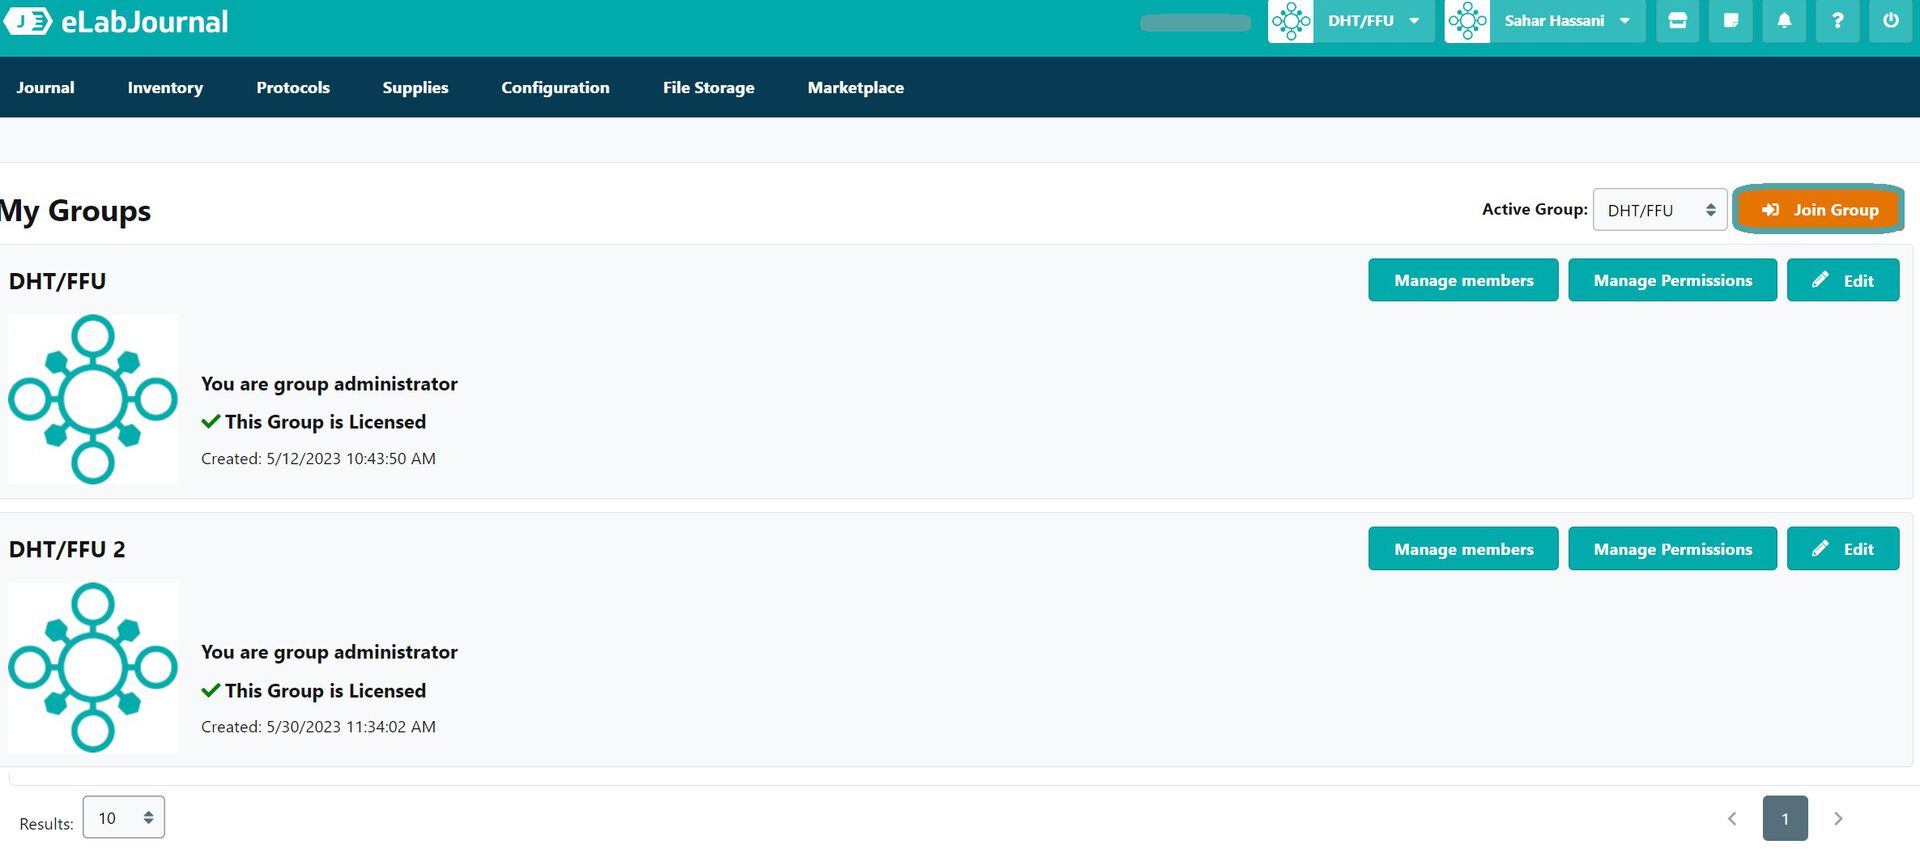
- Once you have accessed the eLabJournal interface, navigate to the "Manage Groups" section.
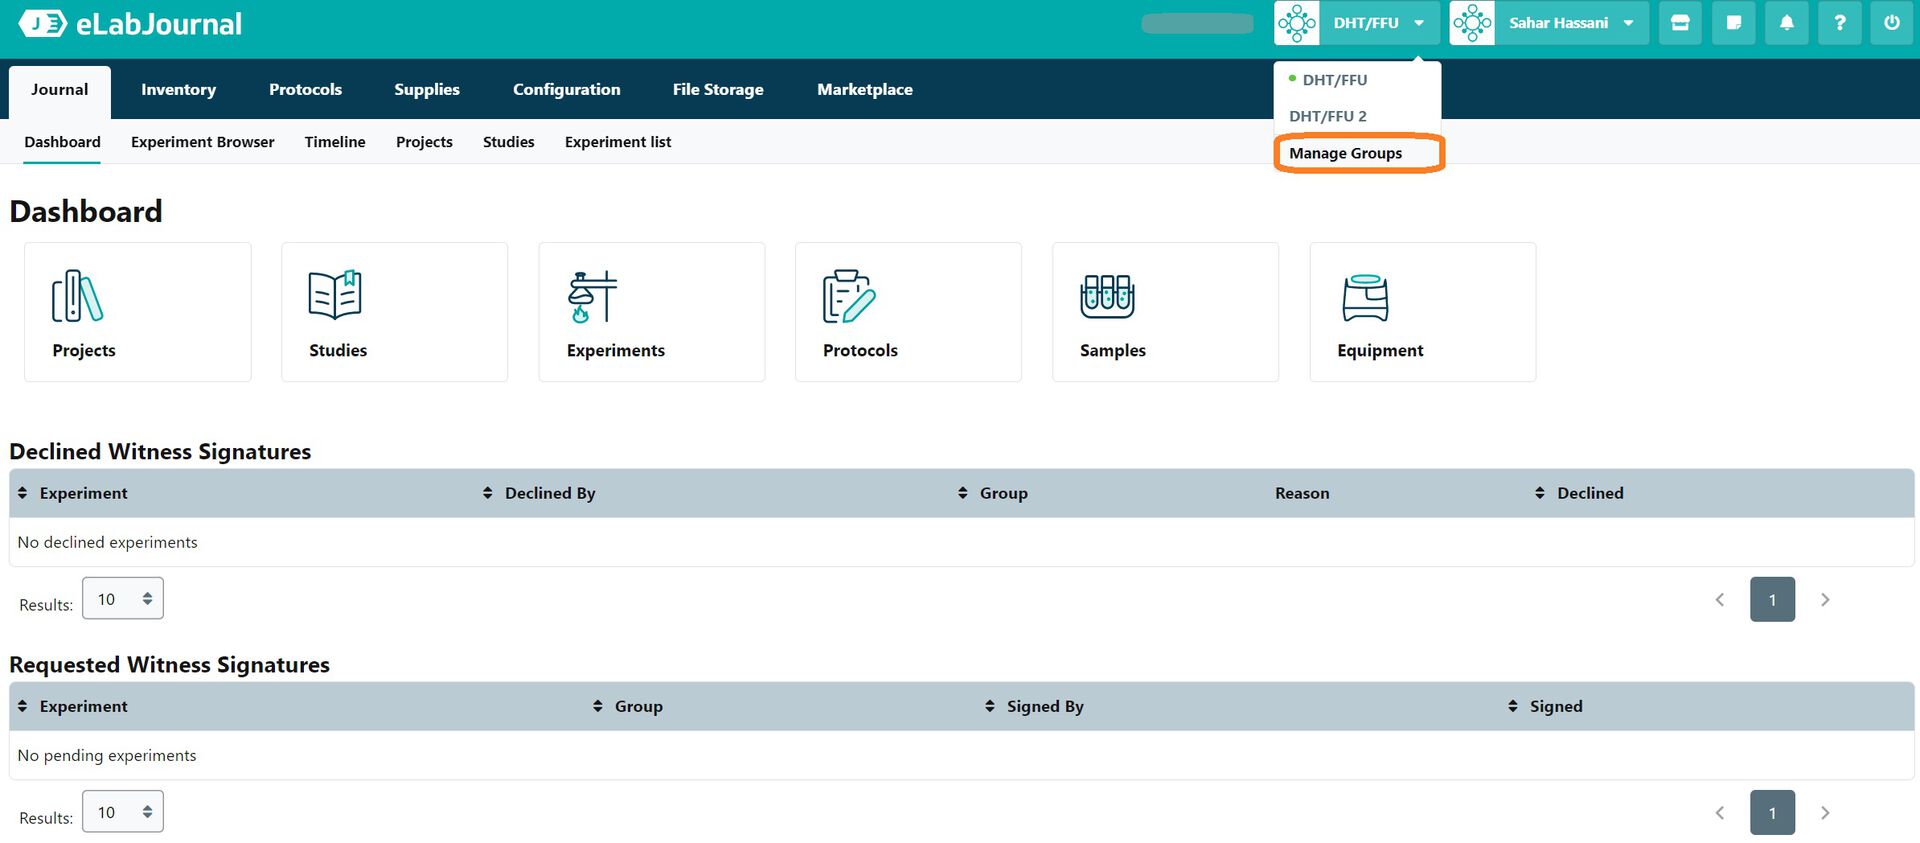
- You will be directed to the "My Groups" page, where you will find a "Join Group" button. Clicking on this button will take you to a page displaying all the groups within UiO.
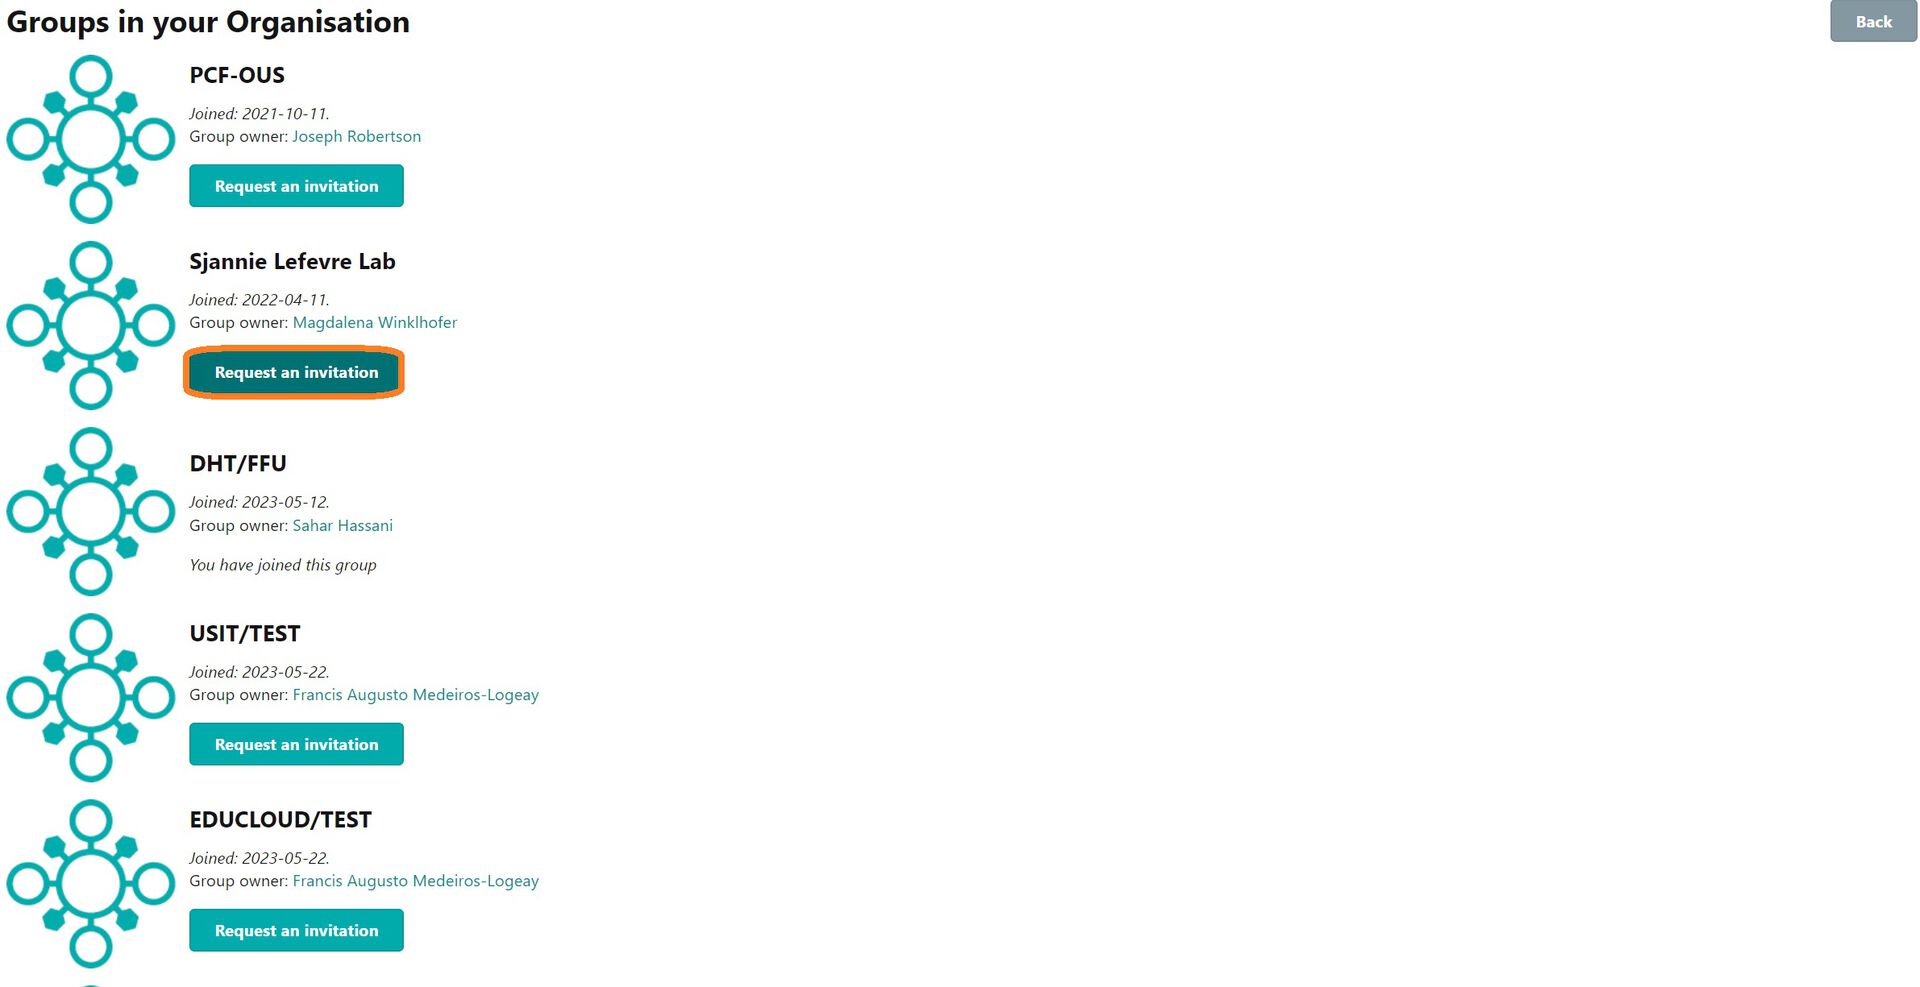
- Navigate to the respective group that you intend to join and click on the "Request an Invitation" button. Please note that there is currently no search functionality available for this step, which may make it inconvenient or challenging to locate the specific group among the many listed. If you encounter difficulties in finding the desired group, we recommend considering the first alternative by reaching out to the group admin and requesting to be added as a member of their group instead.
- Click on "OK" in the next window in order to finalize your joining request.
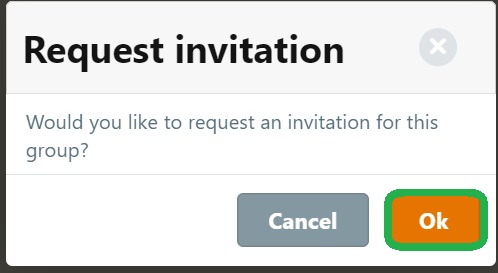
You will be added to the group as soon as the group admin accepts your request.
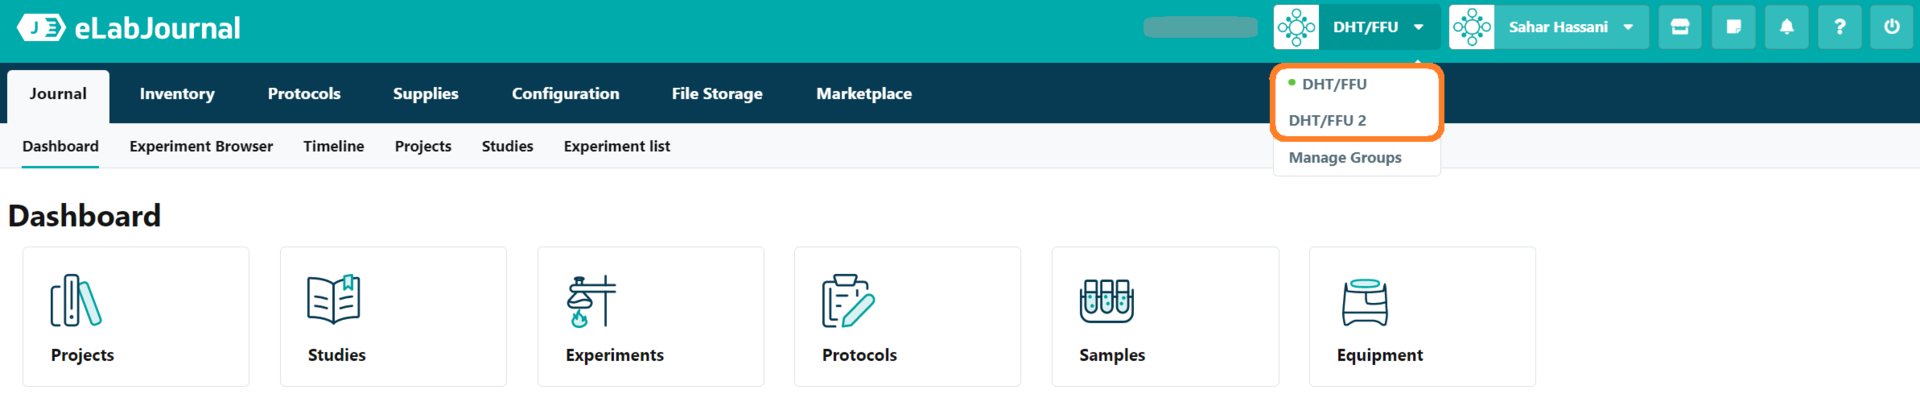
Changing Active Group
To work with the data of a different group, you'll need to change your active group setting if you are a member of multiple groups. To do this, go to 'My Groups' and select the desired active group from the group drop-down menu. Once you've changed this setting, you can easily access the projects, studies, experiments, inventory, and procedures of the selected lab using the navigation menu.
Setting up Electronic Lab Notebook
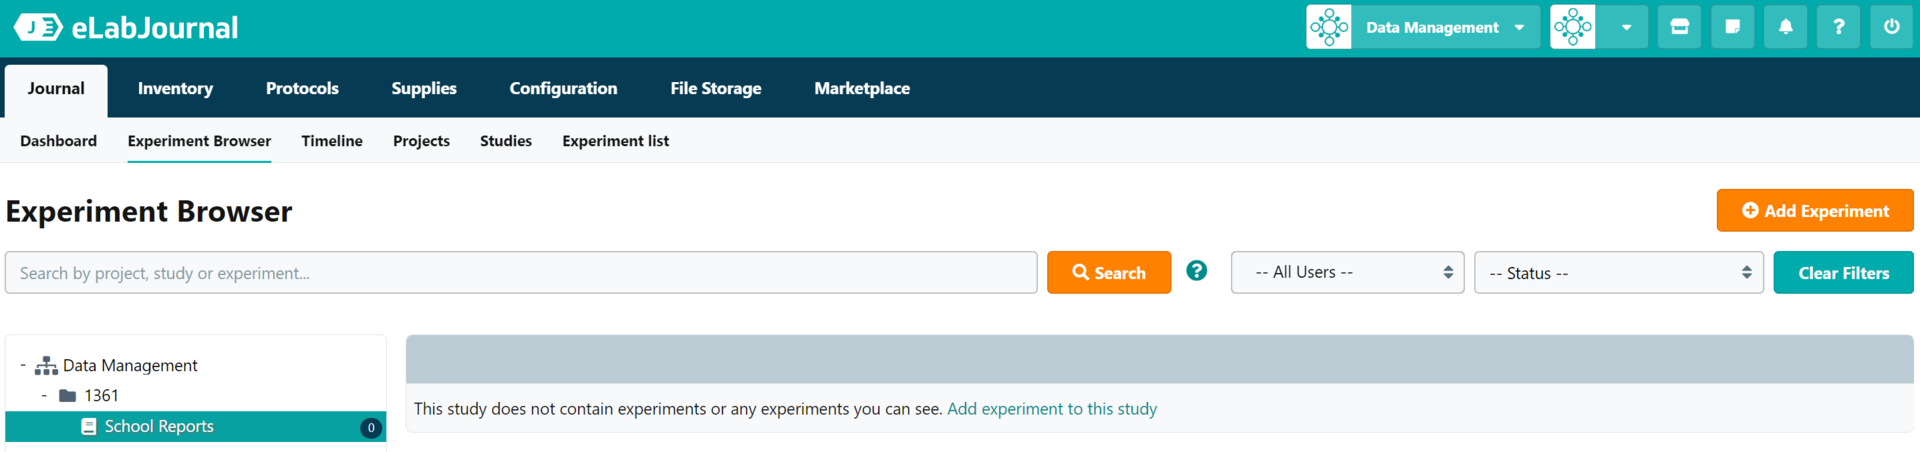
In eLabJournal, experiments are grouped together by projects. Projects are used to organize multiple studies, which can each contain a collection of experiments. To get started with adding experiments, you'll need to first define a project and study in the Experiment Browser.
Think of an experiment in eLabJournal as a digital version of a traditional handwritten lab notebook, with many additional features to help you organize and analyze your data. To visually log your data in an experiment, you can easily add sections for text, samples, protocols, images, Excel files, drawings, and raw data files. Plus, by adding collaborators to an experiment, you can work on the experiment together with other members of your team and seamlessly share lab results, making collaboration much easier and more efficient.

Setting up a Project
To create a new project, you have two options: navigate to either the Experiment Browser or the Projects page, both found under the Journal tab, and click on the 'Add Project' button.


When adding a project, you can provide the following information:
- Project ID: The project identifier used within your lab to distinguish each project (required).
- Project Name: The name given to the project within your lab.
- Project Description: A description that provides details about the project.
- Project Notes: Additional notes or remarks related to the project.
- Project Collaboration: Specify lab members who will be assigned as collaborators in each experiment added to this project.
- Project Status: Set the project's status as either active or inactive.
- Project Labels: Add labels to facilitate filtering of projects on the Projects page.
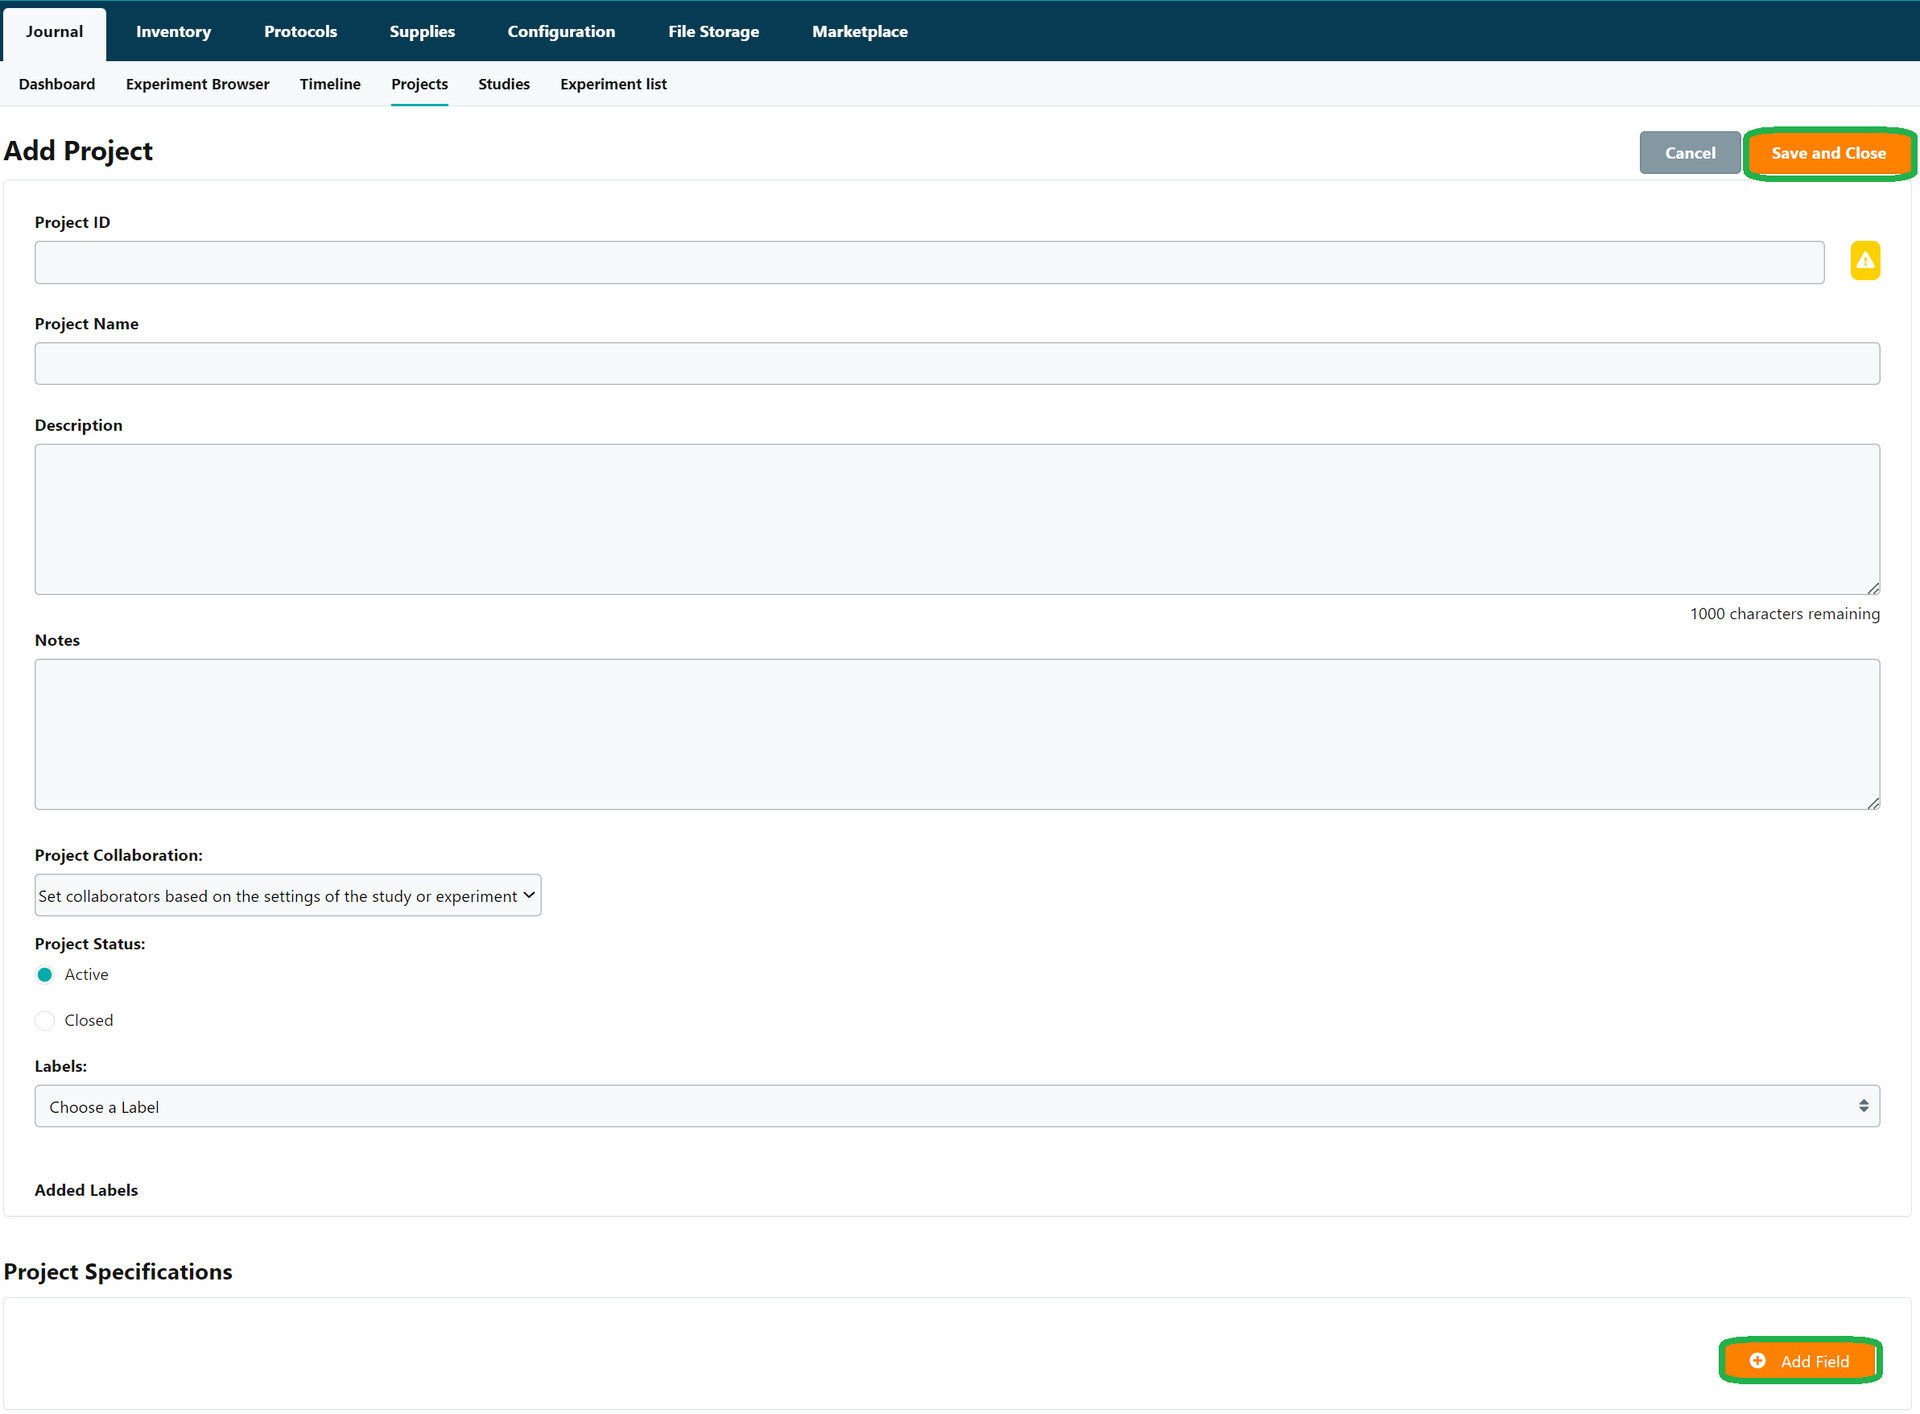
Please note that you can customize the labels of the Project ID and Project Name fields in the Group Settings to align them better with the terminology used in your lab when describing projects.
Setting up a protocol template
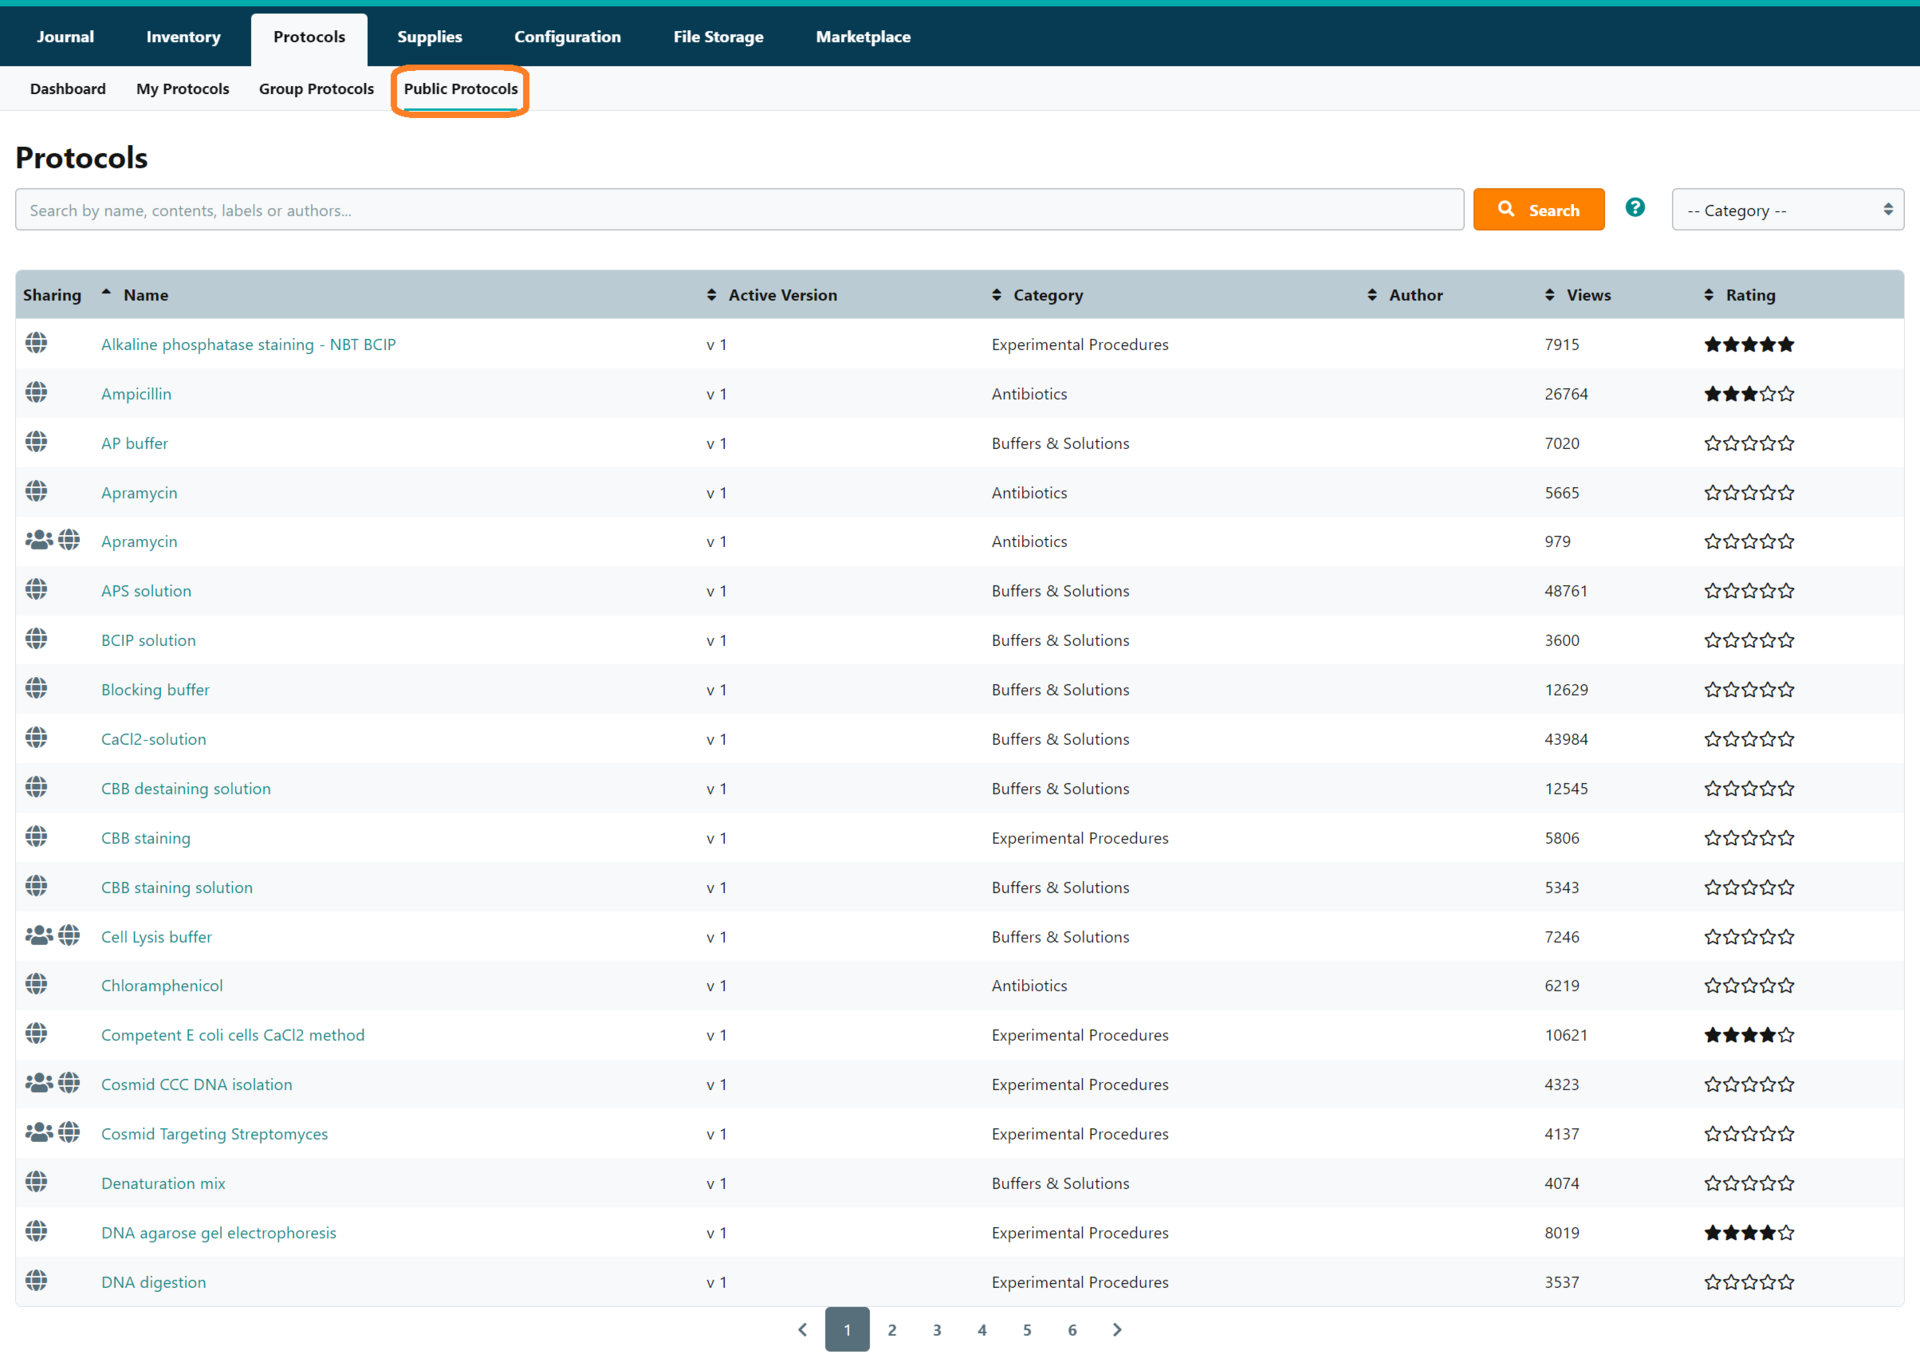
eLabJournal provides the ability to create protocols or standard operating procedures (SOPs). Protocols can be added to experiments to establish standardized procedures, enhancing reproducibility. Protocols in eLabJournal support dynamic fields such as variables and formulas, which can be easily adjusted while adding them to an experiment. Frequently used protocols can be found in the Public Protocols within the Protocols menu and can be copied for personal use.
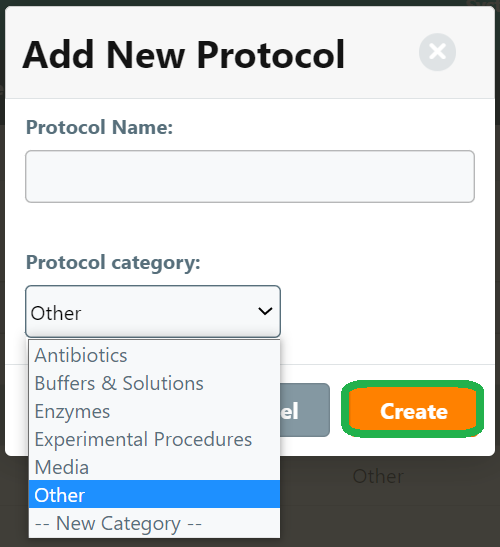
To add a protocol or SOP, navigate to the Protocols tab and go to 'My Protocols.' From there, click on 'Add Protocol' and enter a name for the protocol/SOP in the appeared pop-up menu.

To initiate the protocol creation process, click on the 'Create' button.
You can add different steps to the procedure by clicking on 'Add Step.'
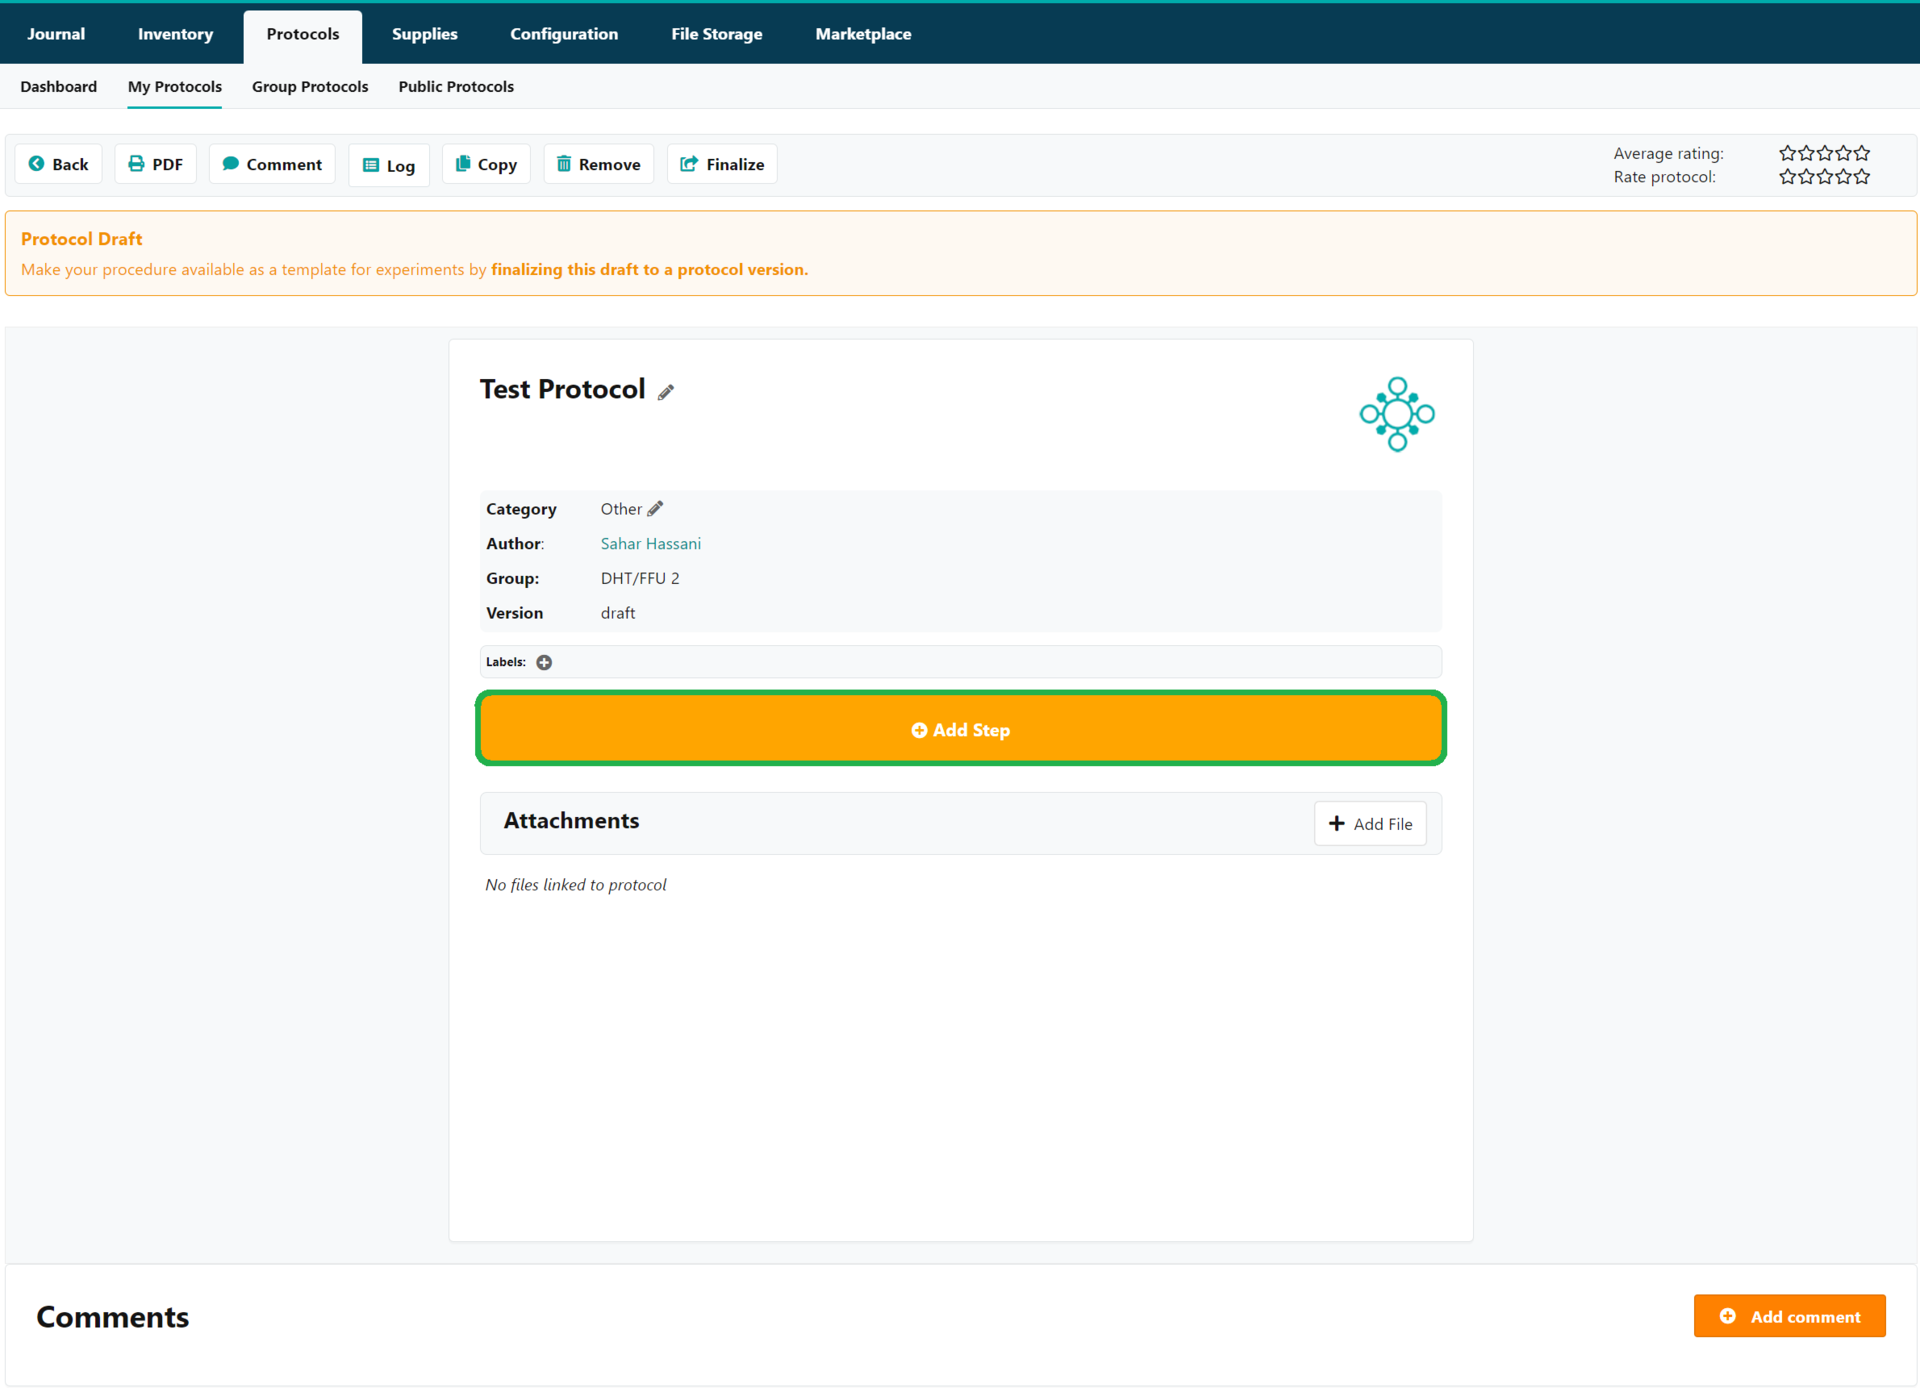
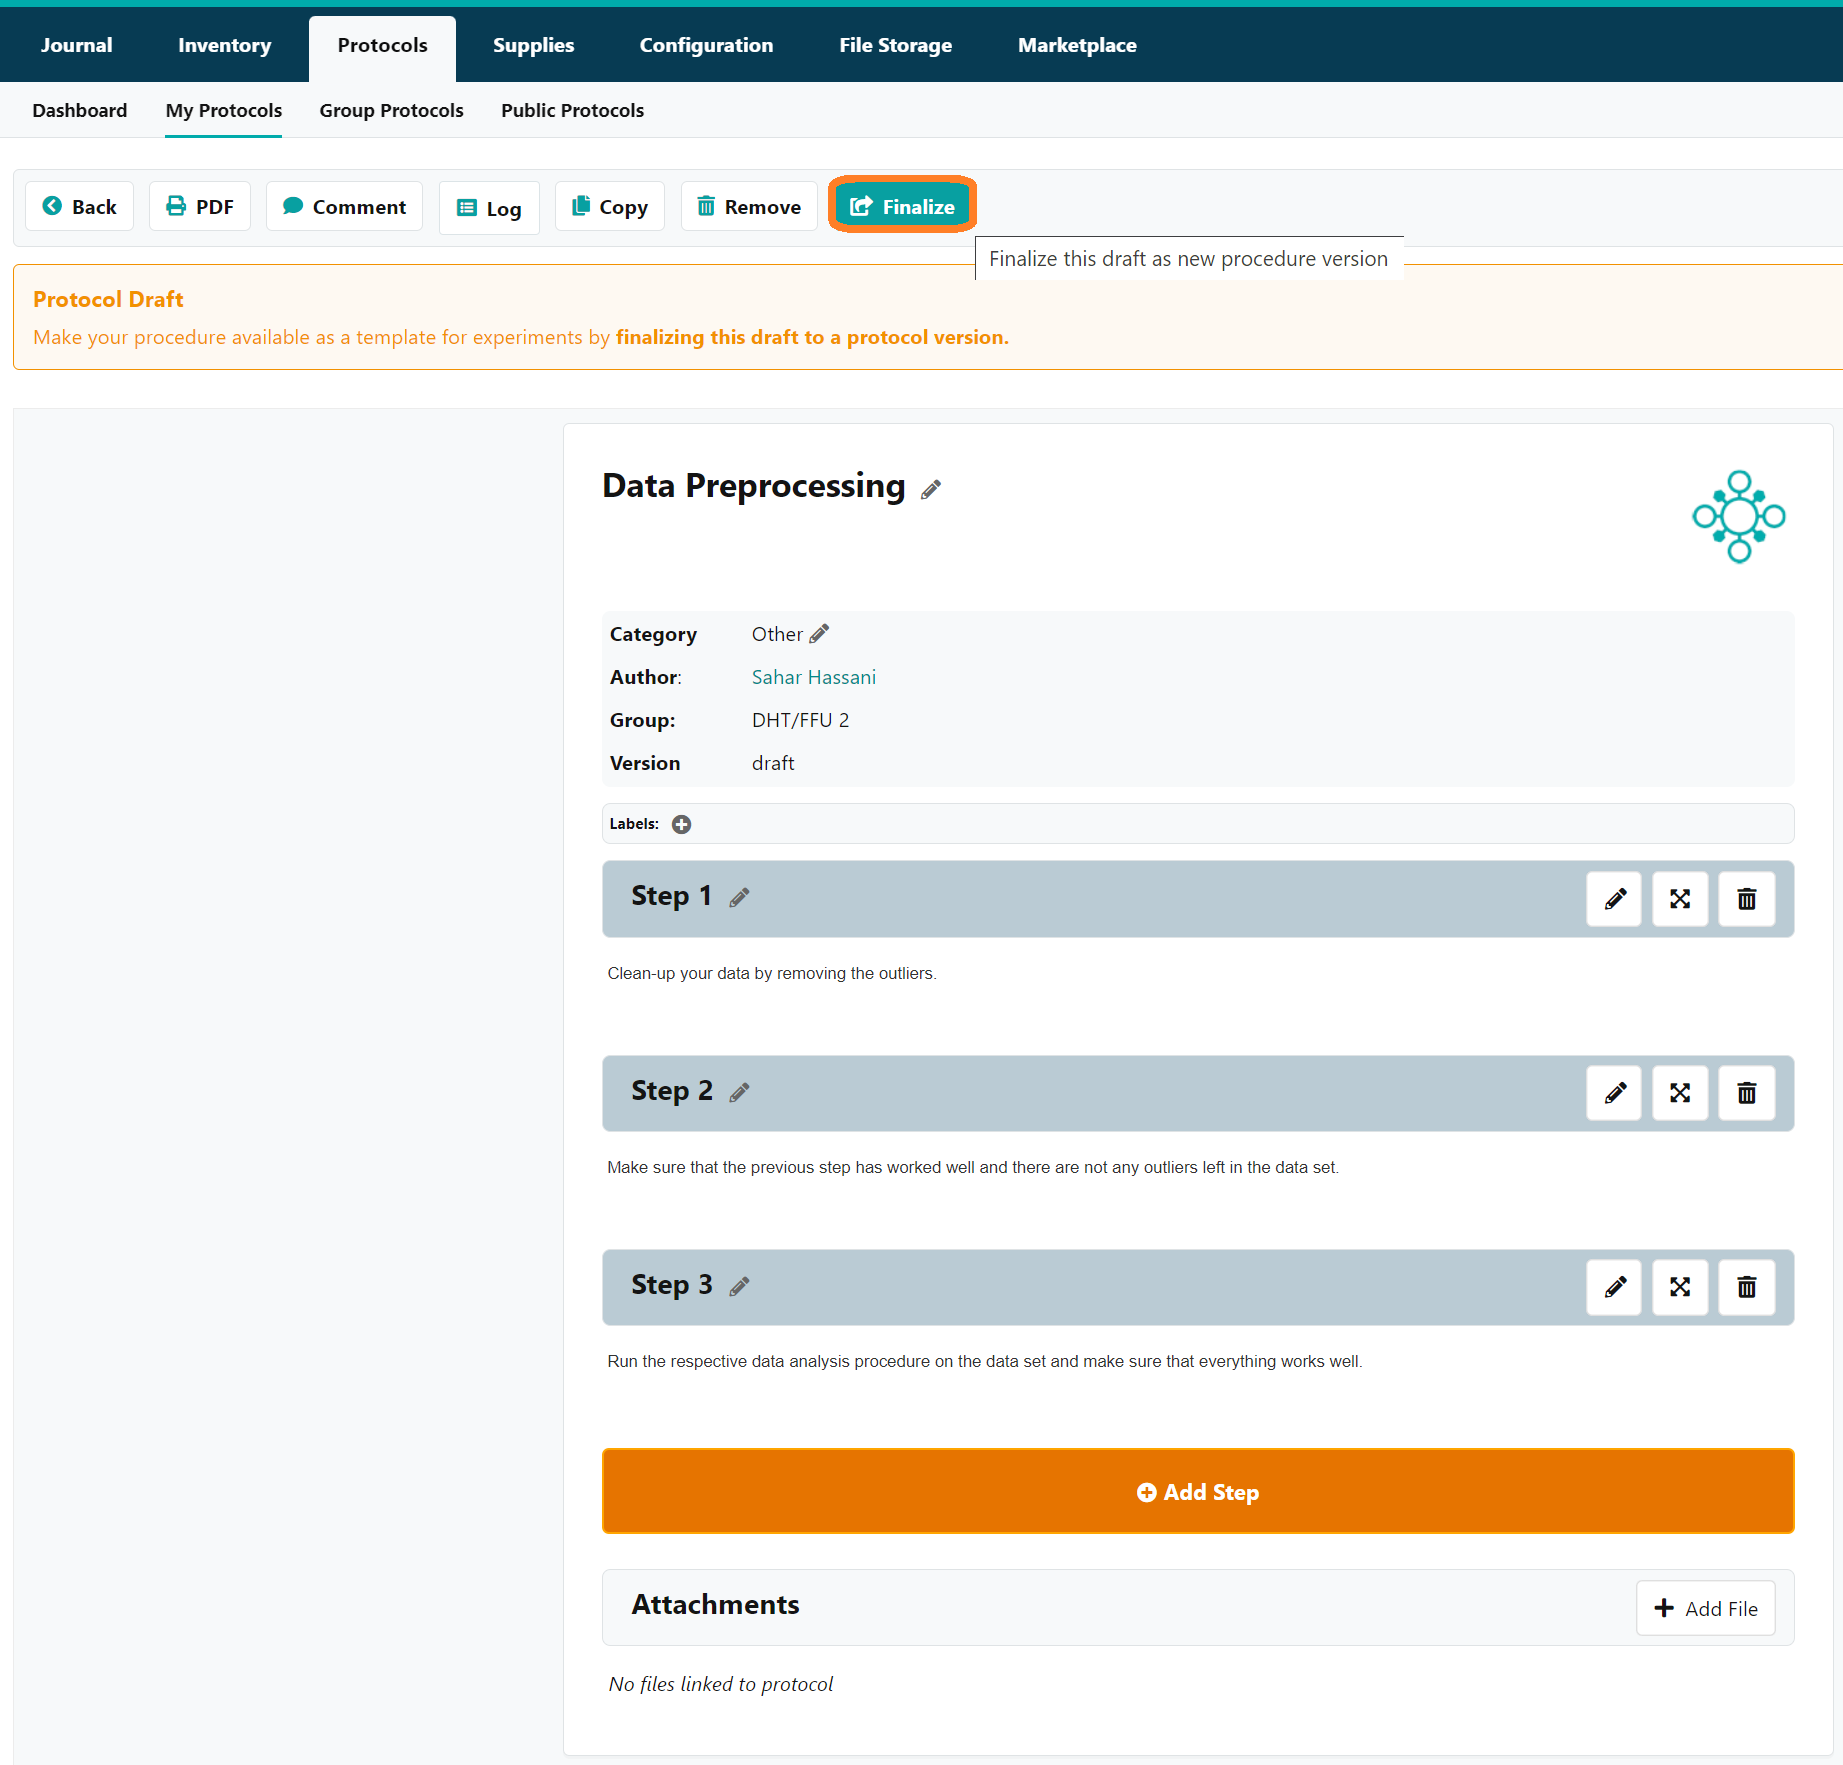
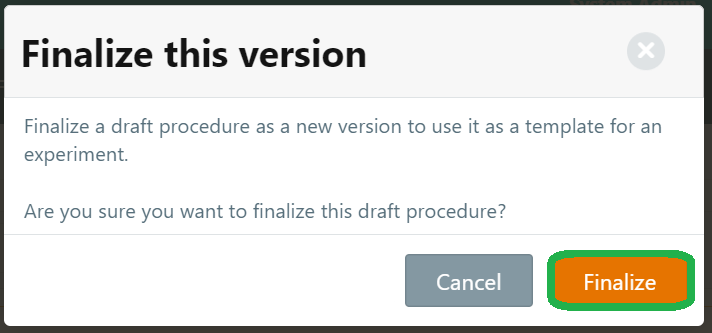
It's important to note that newly created procedures are initially in draft mode and can only be shared or made available as templates in experiments after finalizing.
--