Creating a group
If you're new to eLabJournal, it's important to set up a group to share data with your co-workers in your lab and organization. A group is a secure environment where you can safely share information with other members. Groups can range from a single scientist to a large research division, department, or institute with multiple group leaders.
In addition to collaborating with members within your own group, eLabJournal offers several features to help you collaborate with researchers outside of your lab. For example, you can create a separate Project Group to exchange data with collaborators outside your lab, or share sample information with other labs within your organization. This allows other labs to view shared sample records in their inventories without disclosing the actual storage location, helping to ensure the confidentiality and security of your research data.
Creating a group is a privilege reserved for key users. If you wish to set up a group, please fill out the following Nettskjema. For assistance, you can reach out to the Key Users at UiO by emailing datafangst@usit.uio.no.
If you are managing multiple groups, you can effortlessly switch between active groups in the 'My Groups' section. Please note that in order to invite additional lab members to join, the group must be actively licensed by the System or Organization Administrator. This is necessary to unlock the group's full functionality.
Adding Lab Members
The next step after creating the group is to add members to your group. If you want to add a user to your lab, you can easily send them an invitation. You can do this by going to the 'My Groups' section and clicking on 'Manage Members' for the respective group. Alternatively, you can also manage group members by navigating to 'Group Members' in the Configuration menu.
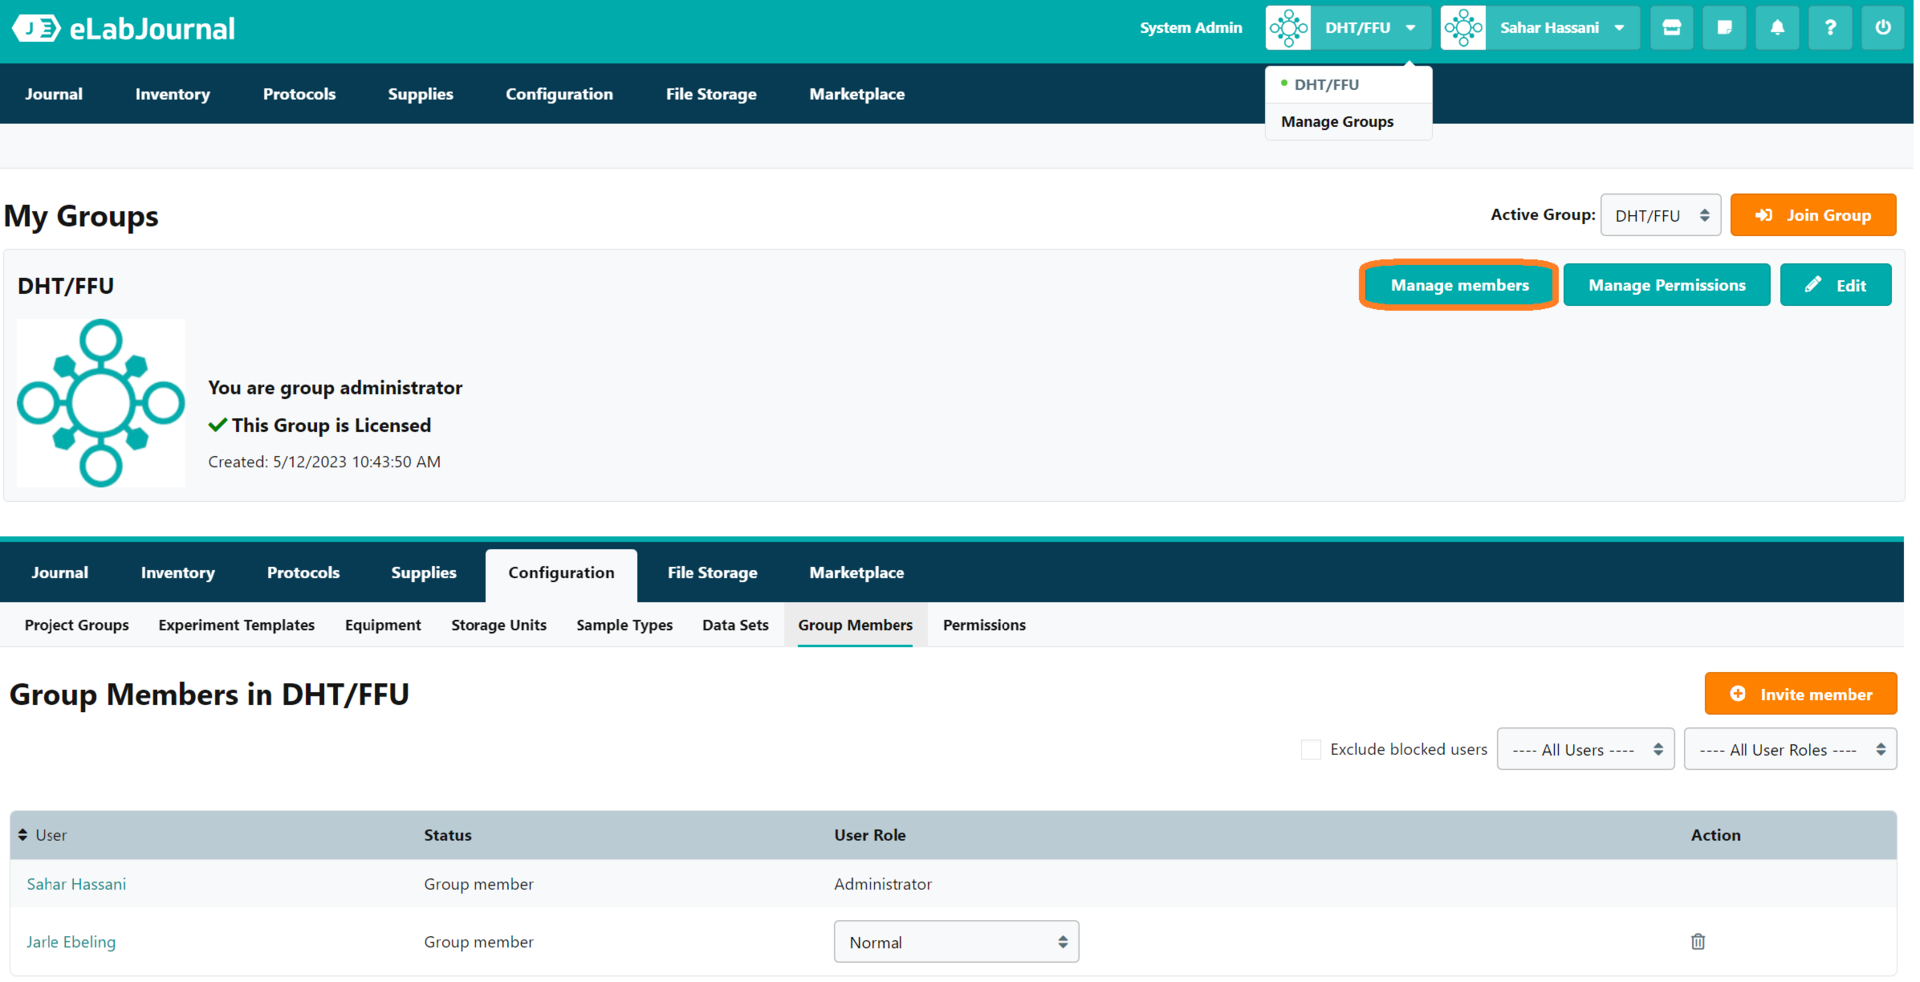
To invite a colleague to join your lab, click on 'Invite Member' and provide their email address. Click on 'Invite' to send them an email containing instructions for setting up an account and accessing the lab. Please note that your lab needs to be licensed before you can invite colleagues to join your group.

If you need to add a large number of users to the lab, such as during the initial lab setup, you can invite multiple users from an email list. In the 'Invite Member' window, click on the 'Invite from email list' link to expand the input field. You can enter up to 100 email addresses at once. Once you have pasted the email address list, click on 'Process email list' to send the invitations.

--