To be able to use the Cloudian object storage service, you need to have a access key/secret key, as well as a S3-compatible client. In this tutorial we will be using Cyberduck, a client that let's you both upload and download files. It can be downloaded from the following website: https://cyberduck.io/ . It is available both for Mac and Windows.
Setting up the bookmark
Once Cyberduck has been downloaded and installed, open Cyberduck and navigate to the bookmarks view as seen in the screenshot below. In the lower left corner you'll see a greyed out pencil and plus and minus symbols. Press the plus symbol to open up the New Bookmark dialog, and proceed to input the URL of your bucket, the access key and the secret key.
The server will always be s3-oslo.educloud.no, while the Access Key ID and Secret access key ID, as well as the path for your bucket will be different depending on what you received from the Cloudian administrators. In this example the name of the bucket is testbucket1. Notice that the bookmark has the nickname testbucket1. You can of course name it what ever you like.

Connecting and transferring files
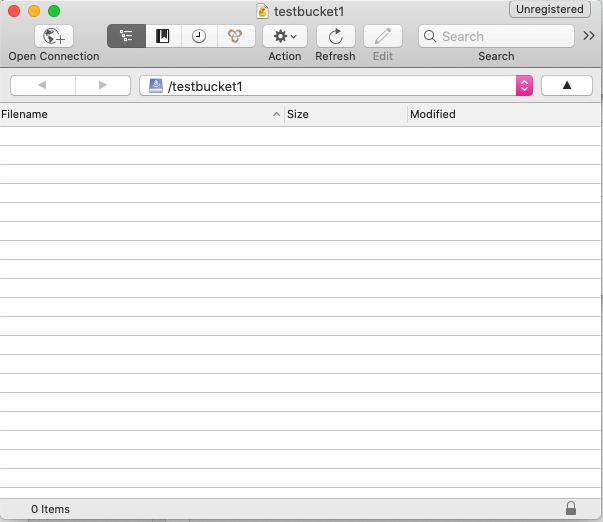
Once the bookmark has been setup, close the dialog and doubleclick the new bookmark named testbucket1. You will then be connected to the bucket, which at first look does not contain any files. You may now start to drag and drop files to upload them to your bucket.

Once the transfer has started, a new dialog will pop up showing you the progress of the transfer. Once the file has completed the upload, the file can be downloaded by you or other people that have received access to your bucket.

If you want to download files from the bucket, you can just drag the file in the list over to your desktop, and it will instantly start the download of the file(s).